
Like fashion and food, interior design ideas come in trends. However, some looks remain timeless, such as a neutral color scheme and natural materials like wood and stone. But some vintage styles became less common, not because they look bad, but because there are easier and less time-consuming alternatives available. So when it comes to curtains, many come with sewn-in loops so homeowners can slip them onto the rods in a matter of minutes. There are also hooks with clips to attach the curtain without any sewing necessary. While these methods are perfectly functional, they lack a certain elegance that old curtains used to have. But although old-fashioned drapery hooks are less common, they are still available for people who want a timeless and custom-tailored look for their homes.
Types of curtain hooks
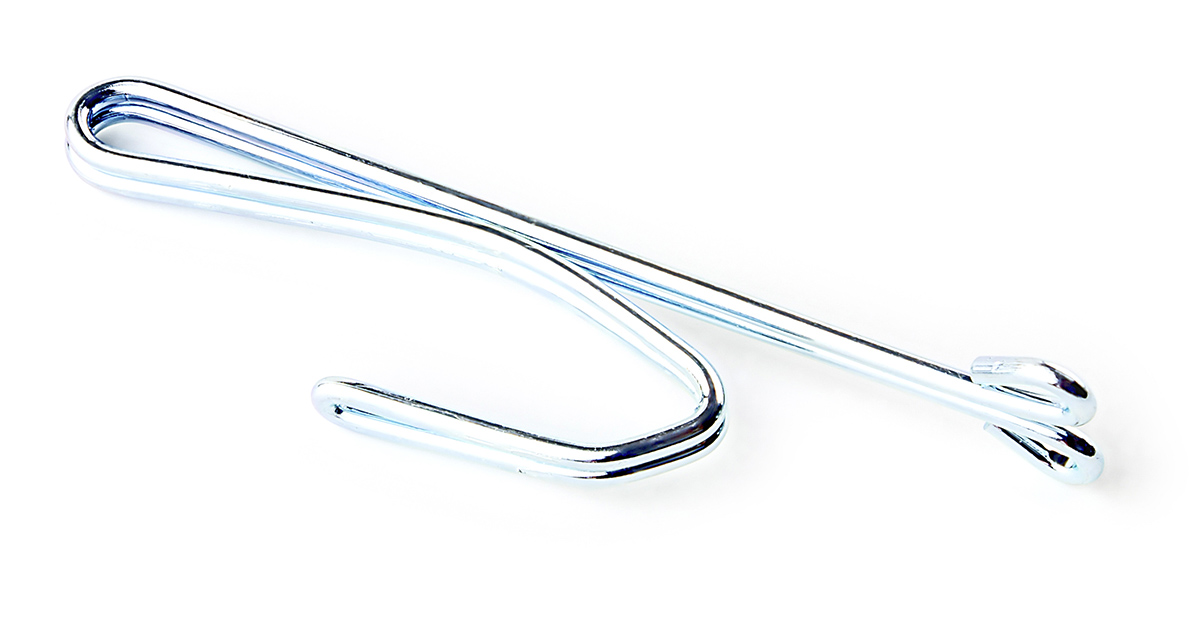
There are two components of these utensils: the hook and the prong. The prong goes into the header of the curtain, and the hook attaches to curtain rod rings. Now, there are different kinds of drapery hooks and they bring their own flair. A pin hook is the basic one-prong version, and it functions without drawing attention to itself. Then there are 2-prong or 4-prong hooks, also called pleated curtain hooks. As so named, they create visually pleasing pleats at the top of the drapes. This leads to a custom-tailored, royal look that elevates their room. Not only that, but they are very sturdy, which makes them perfect for heavy curtains. And even better, they are not as hard to use as they look. [1]
Read: Strange Hack: How To Remove Urine Smell From Your Bathroom Floor Using Shaving Cream
How to use drapery hooks
To use drapery hooks, pleating or header tape must be sewn into the top of the curtain. Fortunately, some curtains come with this tape already sewn on. But if yours doesn’t, don’t worry; you can sew it on yourself. Or you can use the no-sew method. Keep in mind that pleats require extra material, so make sure the fabric you are using is double the length you want for your final result. You may need to purchase an extra curtain to cover your window.
Instructions:
- Unroll the entire curtain onto a smooth work surface (or the floor) and place the pleat tape across the top. Leave about ¼ inches of space between the top of the fabric and the tape.
- Next, pin the tape onto the curtain and get to sewing. The tape usually comes with a line of stitches on top you can follow to ensure you’re sewing straight. You can also sew the bottom for extra support. Make sure you do not sew the prong slits shut! [2]
- If you don’t have a sewing machine, mark where you are putting the tape then remove it. Now place two strips of iron-on adhesive and place the tape on top of them. Iron it into place according to the adhesive’s instructions.
- Now bring out the drapery hooks! For the classic pleat pinch look, you’ll want the 4-prong version. Place the prongs through the slits in the tape to create the pleat. Start by inserting the middle two prongs before the outer ones. If you are struggling with the tape, insert a toothpick into the slit and wiggle it around until the prong slides in more easily. You can decide how close or far you want the pleats to be so space the hooks however you want. When you are done, you can iron the curtain pleats to make them look more crisp and distinct.
- Place curtain rings onto the curtain rod. Then slip the hooks into the rings and congratulations, your classic-looking drapery is complete!
Read: The ‘dirt cheap’ solution that prevents spiders from invading your home
Bonus craft: drapery hook easels
If you have leftover drapery hooks, you can use them for another decor project. You can turn them into little easels to display pictures on mantles or side tables. You can also use them to show off other decor items like coasters or painted rocks. If you use 2-prong hooks, you can turn them into mini easels to display business cards, a photo, a greeting card, etc.
For a 4-prong hook, use a small needle-nosed set of pliers to bend each prong. Bend the outer prongs forward and the inner prongs back. Next, add an extra curve to the front prongs so they can hold the decor more securely. You can leave the hook part as another support leg, but if it gets in the way, snip it off.
For a 2-prong hook: Use the plier to bend the prongs forward, leaving the hook as the stand in the back. Curve the ends of the prongs to hold the decor more securely. You can adjust the width of the prongs to whatever item is going on display.
Keep Reading: 40+ Parenting Hacks & Products You Wish You Knew About Sooner
Sources
- “Different Types of Curtain Hooks (Styles & Uses).” Architectural. Rosanne Jone. September 2, 2023
- “How to add a pinch pleat on store bought curtains.” Thrifty Decor Chick. Sarah. “ February 3, 2022
- “How to make a no-sew pinch pleat curtain.” Be Purposed. Sarah. July 19, 2023
- “Small DIY Easel Project.” My Repurposed Life. Gail. September 21, 2022