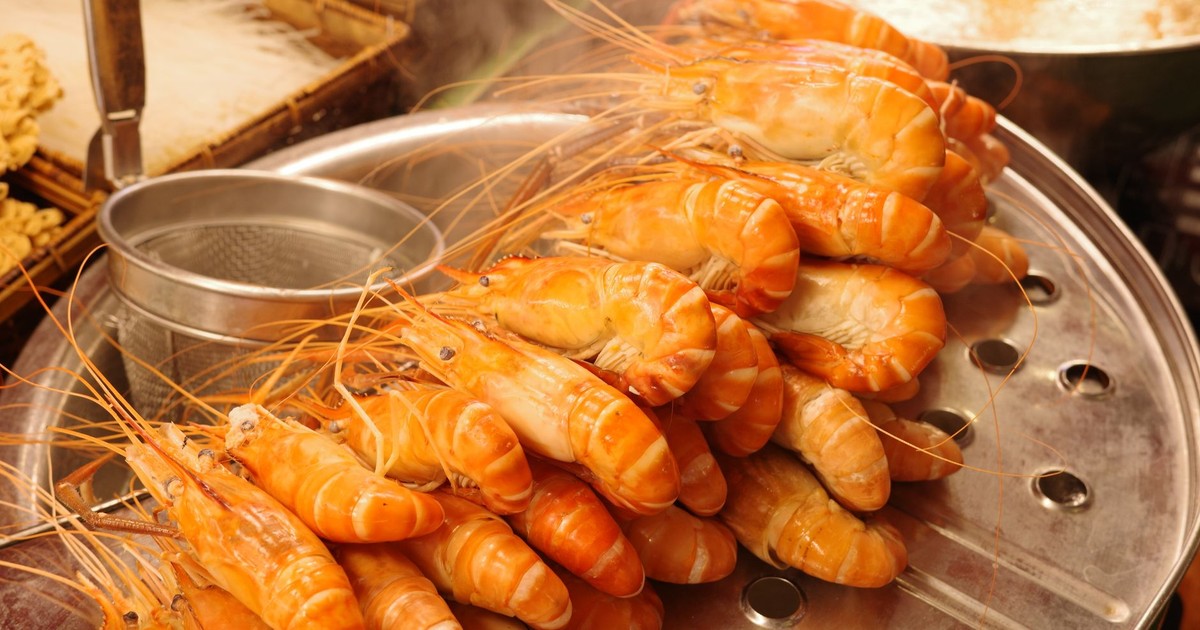

Frozen shrimp has a reputation problem it doesn’t entirely deserve. People treat it like a consolation prize – the thing you grab when you forgot to plan dinner and now you’re standing in a grocery store at 5:45 on a Tuesday. But most shrimp you buy labeled “fresh” at the seafood counter was frozen at sea hours after the catch and thawed in the display case before you got there. The frozen bag in your freezer is, in many cases, the fresher product.
The issue isn’t the shrimp. It’s that nobody ever taught most of us the right way to handle it. Thaw it wrong and you’ve got a waterlogged, rubbery disappointment. Cook it wrong and you have the same problem, this time with a chewy texture that belongs in a shoe. But get the handling right – the thawing, the drying, the heat – and you will make some of the best weeknight dinners of your life in under 20 minutes.
Whether you’re working with a one-pound bag of shell-on Gulf shrimp or a bag of small precooked cocktail shrimp you impulse-bought on sale, the rules are mostly the same.
Start in the Freezer: What You’re Really Buying
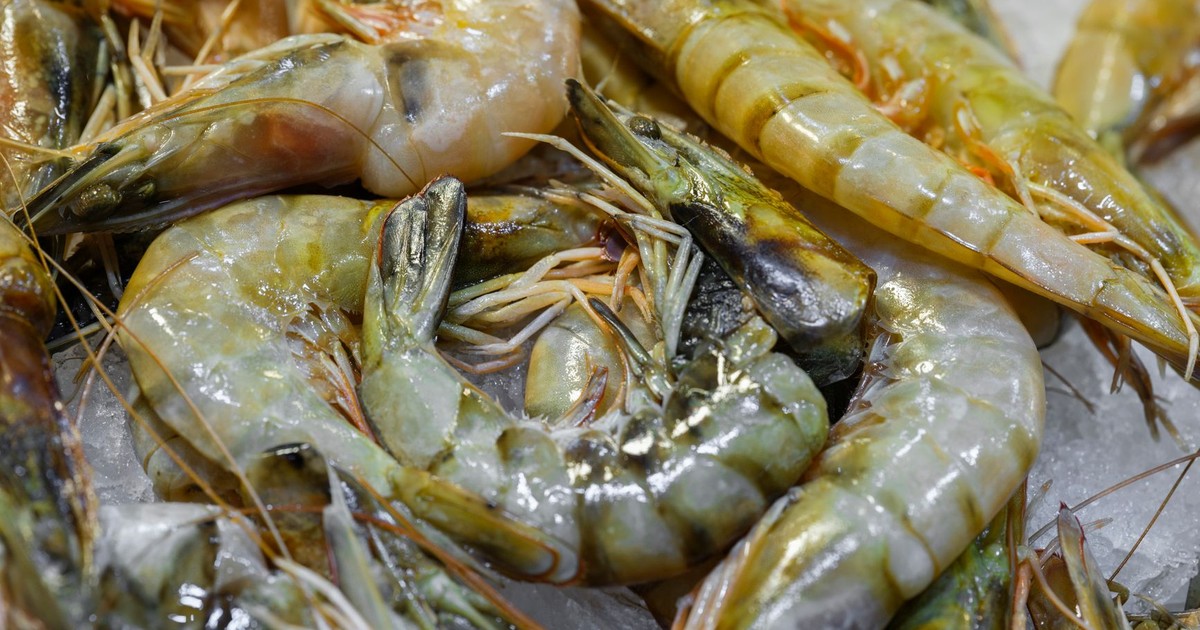
The label on your shrimp bag matters more than most people realize. IQF – individually quick frozen – means each shrimp was frozen separately, at peak freshness, before packaging. This is the gold standard for texture because the shrimp never freeze in a clump, which means they thaw and cook more evenly. Block-frozen shrimp (one solid mass in the bag) are cheaper and fine for soups or stews where texture is less critical, but they require more attention during thawing.
Shell-on shrimp hold moisture better than peeled during high-heat cooking, which is why grill or broiler recipes often call for them. Peeled and deveined is the more practical choice for most home cooks – less prep work, faster results, and no one at the dinner table is going to complain. Tail-on is mostly aesthetic unless you’re serving shrimp as finger food.
Size matters too, and the numbers on the bag tell you how many shrimp are in a pound. 16/20 means 16 to 20 shrimp per pound. 51/60 means tiny. For most cooking methods, 21/25 or 26/30 is the sweet spot – large enough to cook evenly, small enough to work in pasta, tacos, grain bowls, or a quick sauté. Very small shrimp overcook in seconds.
The Thawing Question (And Why It Actually Matters)
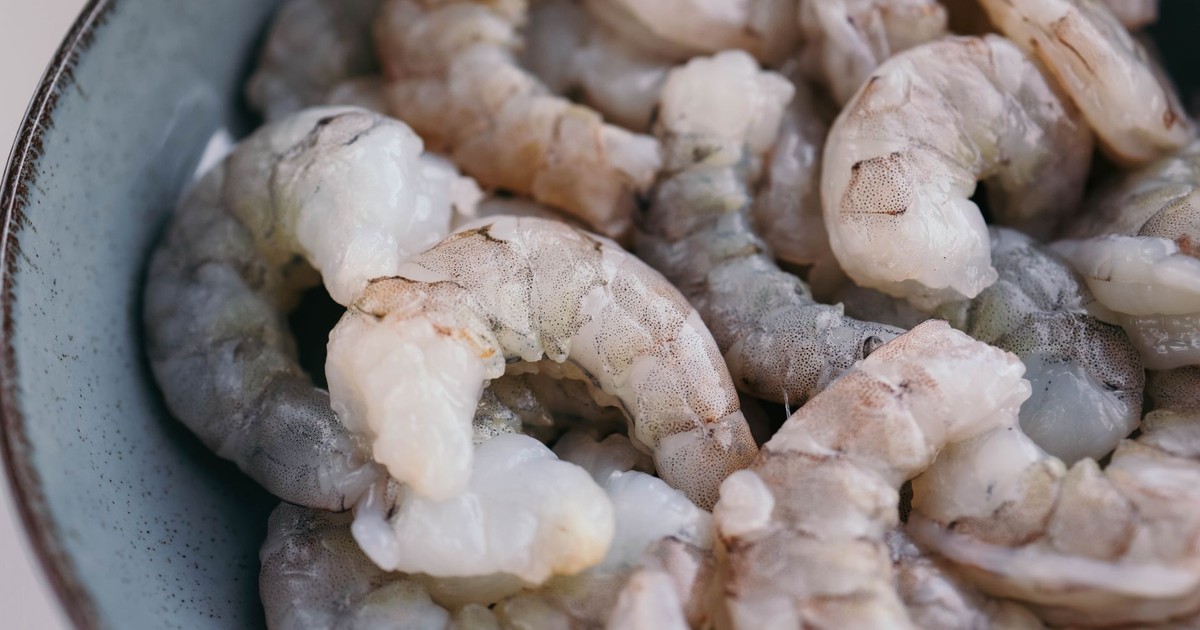
The fastest route to bad shrimp is usually the thawing method. Room temperature is out. Warm water is out. Both push the shrimp into unsafe temperature territory where bacteria multiply quickly. The FDA recommends thawing frozen seafood gradually in the refrigerator overnight. If you need to thaw quickly, the agency advises sealing the shrimp in a plastic bag and immersing it in cold water, or using the microwave’s defrost setting if you plan to cook immediately afterward.
The overnight refrigerator method is the one to use when you’ve planned ahead. Place the bag of shrimp on a dish or in a bowl to catch any drips, keep your fridge at or below 40°F, and you’ll wake up to shrimp that’s thawed without any change to its texture or flavor. This is the method that gives you the most control, especially if you want to marinate before cooking.
The cold-water method is genuinely fast and genuinely fine when done correctly. According to USDA FSIS, the bag should be submerged in cold tap water and the water changed every 30 minutes so it continues to thaw. The reason that interval matters: cold water sitting still around a frozen protein warms steadily until it stops doing its job of keeping the shrimp at a safe temperature. Keep the shrimp in a sealed bag, not loose in the water. Submerged loose shrimp absorb water and turn mushy. The sealed bag keeps the texture intact.
Once thawed, pat the shrimp completely dry with paper towels before cooking. This step is non-negotiable if you want any color or char. Wet shrimp steams in the pan instead of searing, and you’ll spend the whole time wondering why nothing is browning.
Can You Cook Frozen Shrimp Without Thawing?
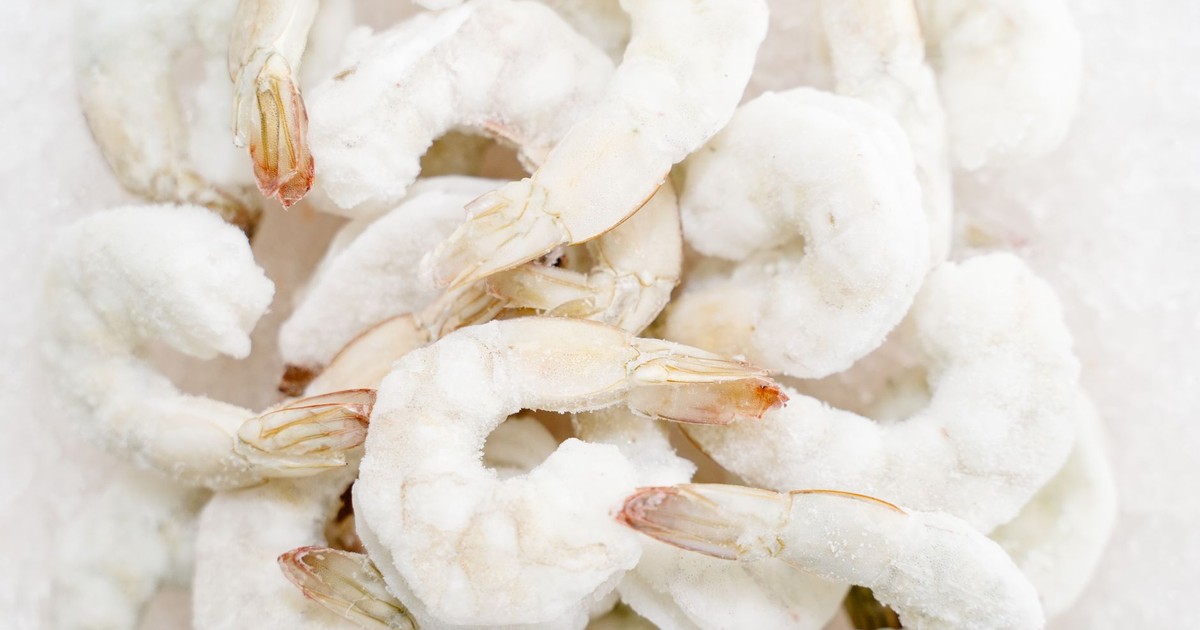
Yes, with caveats. Gentler methods like baking or poaching work fine from frozen, though thawing first gives you more control over the final texture. Fulton Fish Market advises that what you cannot safely do is throw frozen shrimp into a screaming-hot pan of oil. High-heat methods like pan-searing and grilling create real problems with frozen shrimp – dangerous oil splattering and an exterior that overcooks long before the interior is safe to eat.
The quick rinse method works for broiling and roasting. Run the frozen shrimp under cold water for 60 seconds to remove ice crystals, dry them as thoroughly as you can, season immediately, and cook in a preheated oven or under the broiler. The results are decent, not perfect. The texture is slightly softer than thawed-first shrimp, but for a casual weeknight dinner where the goal is getting dinner on the table, it absolutely does the job.
Temperature and Timing: The Numbers You Need
Shrimp cook fast. Embarrassingly fast. The most common mistake home cooks make is not overcooking by a lot – it’s overcooking by thirty seconds. Because shrimp are small, uneven in thickness, and protein-dense, they go from perfect to rubbery in the time it takes to answer a text. The visual cues are your best guide: raw shrimp is gray and translucent. Done shrimp is pink, slightly curled, and opaque. A tight C-shape means cooked. A tight O-shape means overcooked.
For shrimp specifically, the flesh should become firm, pearly, and opaque. If you don’t own a probe thermometer, the color and curl are reliable enough guides for home cooking – just pull the shrimp off heat when the last traces of gray disappear, because carryover heat will finish the job.
Timing by method, once thawed and dried: a hot skillet over medium-high needs about 1 to 2 minutes per side for large shrimp. Boiling salted water takes 2 to 3 minutes for large, less for small. A 400°F oven takes 6 to 8 minutes. A broiler on high takes 4 to 5 minutes, flipping once. An air fryer at 390°F takes about 8 to 10 minutes. Every bag of shrimp is slightly different in size, so check at the early end of the range.
Sautéed: The Method Most People Get Wrong
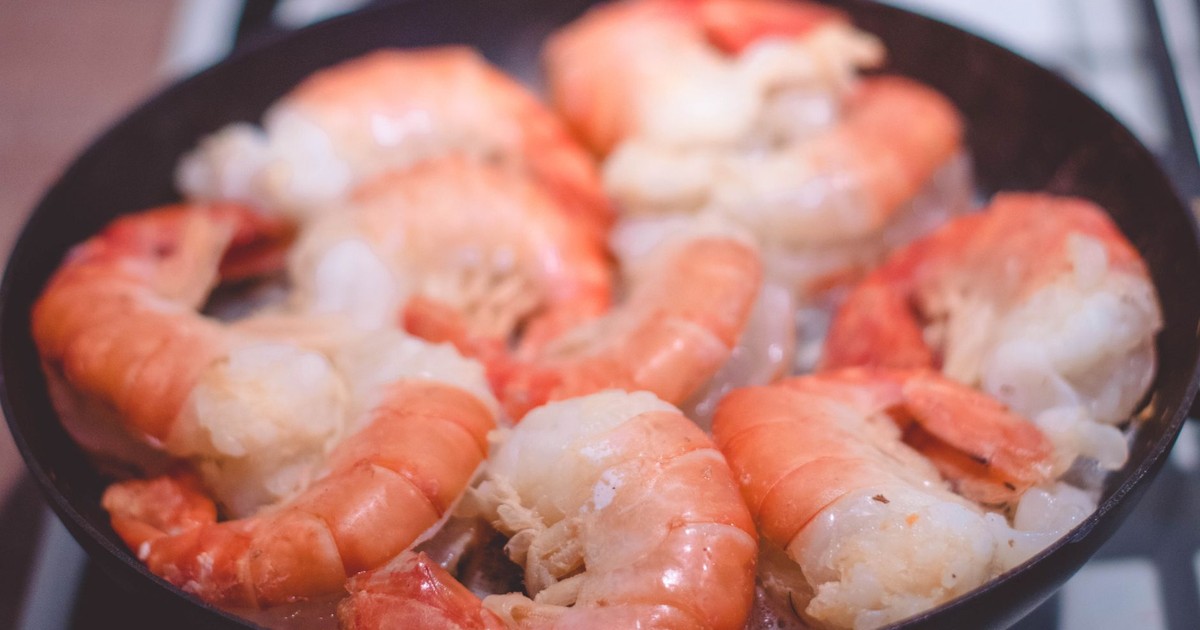
The pan sauté is where most frozen shrimp dreams go to die. Here’s what usually happens: the pan isn’t hot enough, the shrimp go in wet, they steam instead of sear, and the whole thing turns gray-pink and floppy. The fix is almost embarrassingly simple.
Get the pan genuinely hot before anything goes in. Medium-high is the minimum. Add oil with a high smoke point – avocado, grapeseed, or a neutral vegetable oil – and let it shimmer before the shrimp touch the surface. Add the shrimp in a single layer with space between them. Crowding the pan drops the temperature immediately and you’re back to steaming. Work in batches if you need to. One minute per side, undisturbed. Flip once when the pink has crept about halfway up the side of the shrimp. Another minute, off the heat, done.
Season at the end or at the flip – not before the shrimp goes into the pan. Salt draws out moisture, which is exactly what you don’t want when you’re trying to build a sear. Add garlic in the last 30 seconds if you’re using it, because garlic burns faster than shrimp cook. A squeeze of lemon when the pan comes off the heat wakes up everything.
Boiled and Steamed: Underrated and Forgiving
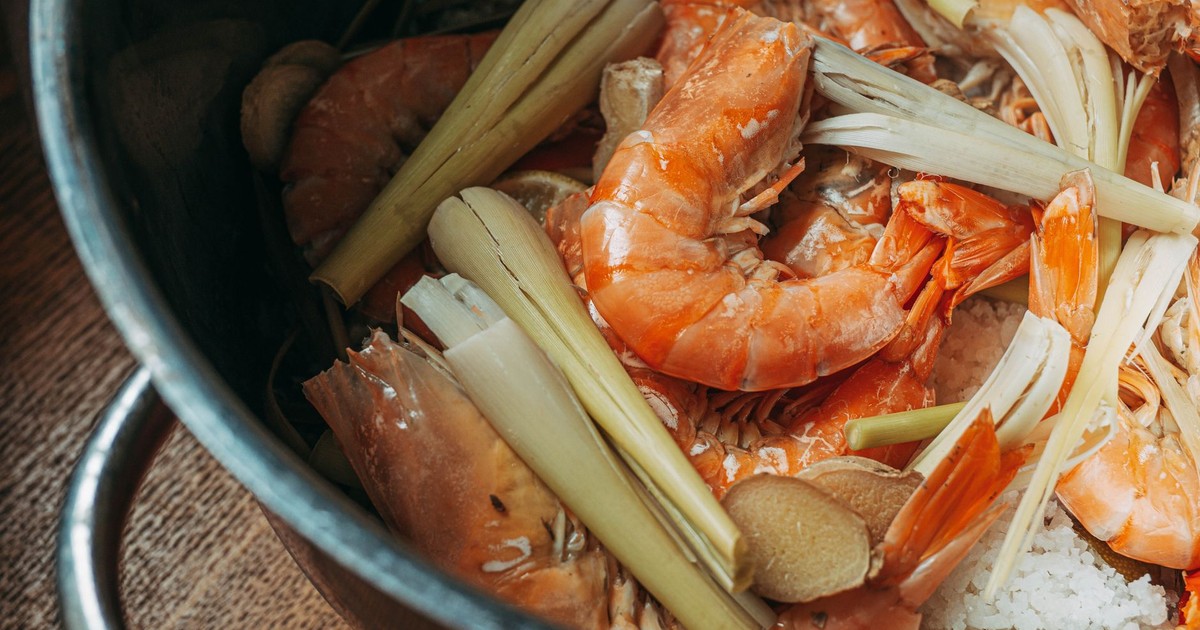
Boiling gets dismissed as boring, but it’s actually the most forgiving method for cooking frozen shrimp and the one most likely to produce consistent results when you’re feeding a crowd. Bring a large pot of generously salted water to a full rolling boil. Add a bay leaf, some peppercorns, half a lemon squeezed in – none of this is strictly required but all of it makes a difference in the finished flavor. Add the thawed shrimp and watch them. Two to three minutes for large shrimp is usually right. The moment they’re opaque and have a slight curl, drain immediately and transfer to an ice bath if you’re serving them cold. Letting them sit in the hot water for even an extra minute will cost you on texture.
Steaming is gentler still and keeps more of the shrimp’s natural sweetness intact. A steamer basket over boiling water, covered, 5 to 7 minutes depending on size. This is the method to use when you want shrimp for a shrimp cocktail or a dish where the shrimp flavor is meant to be the star rather than a supporting element.
Roasted and Broiled: More Flavor, Less Work
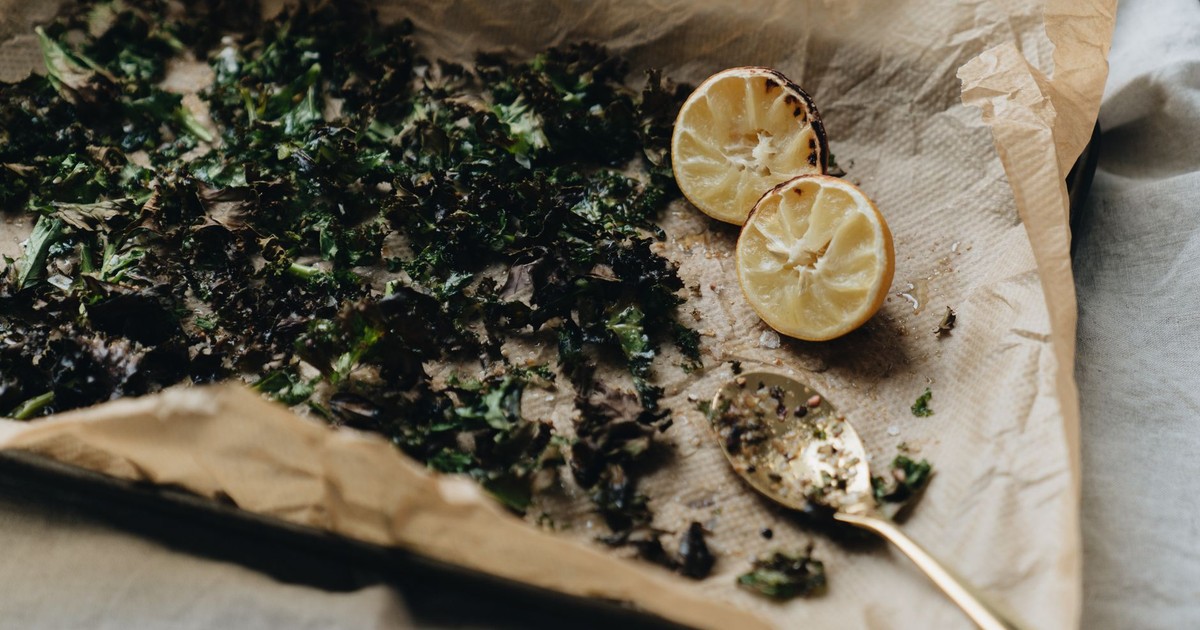
The oven earns its place with shrimp because you can season everything ahead of time and walk away for a few minutes. Toss thawed, dried shrimp with oil, salt, pepper, and whatever spice situation you’re working with – smoked paprika, cumin, and chili flakes if you want something warm, or just lemon zest and garlic if you want to keep it simple. Spread in a single layer on a sheet pan and roast at 400°F for 6 to 8 minutes, or broil on high for 4 to 5 minutes until the edges are just catching color.
Broiled shrimp gets a slightly caramelized edge without drying out when started on a preheated pan. Put the sheet pan in the oven while it preheats. Shrimp land on a hot surface and start cooking from the bottom up immediately, which cuts the time down and concentrates the flavor.
The Air Fryer Option
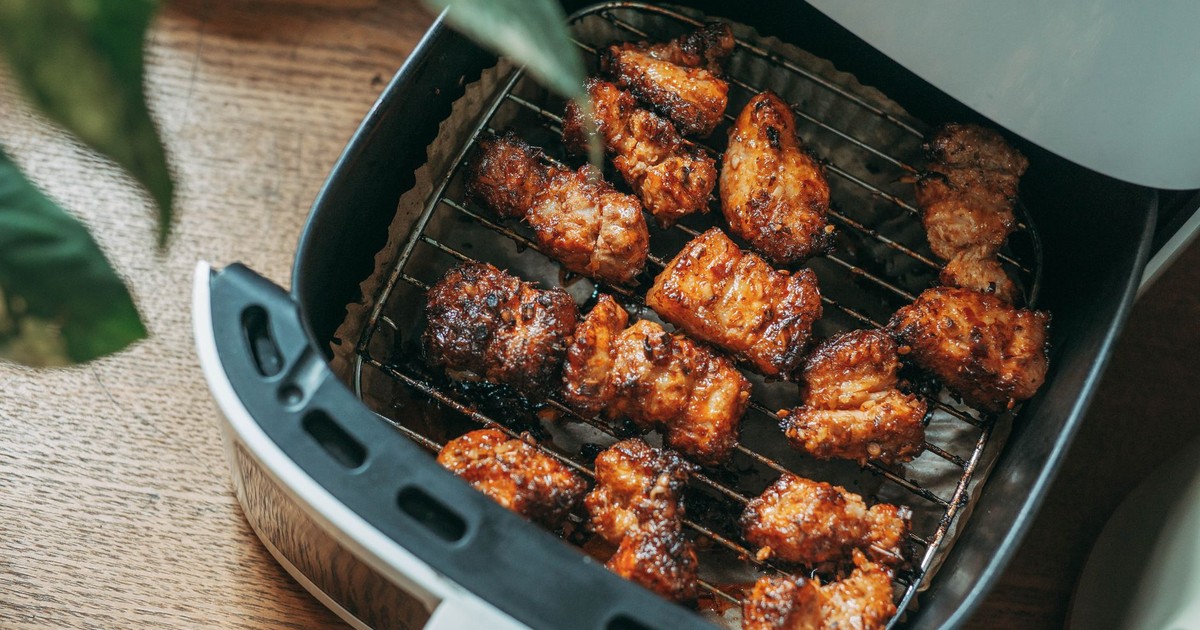
The air fryer has earned a permanent spot in the frozen shrimp rotation because it produces a lightly crisped exterior without any oil splatter or babysitting. Preheat the air fryer to 390°F. Toss the thawed, dried shrimp with a small amount of oil and your seasoning of choice. Arrange in a single layer in the basket – same rule as the skillet, no crowding. Cook for 8 to 10 minutes, shaking halfway through. The result is shrimp with a bit more texture on the outside than you’d get from a sauté or boil, which works particularly well for tacos, grain bowls, or anything that needs a component with some structure.
How Long Can Shrimp Stay Frozen?
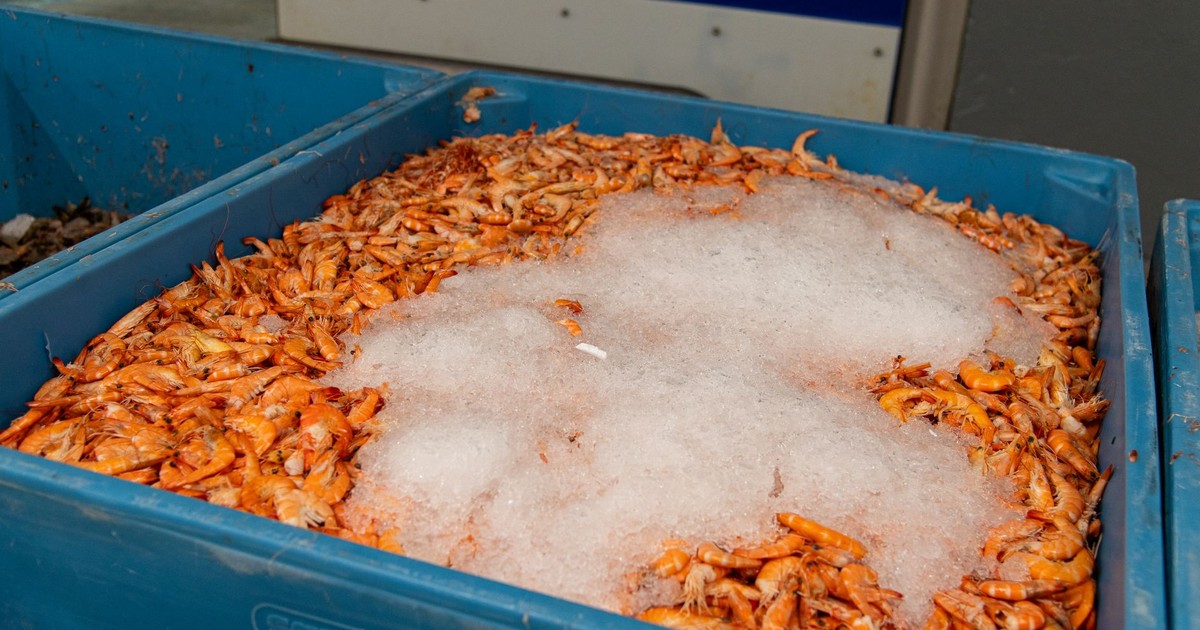
Buying shrimp frozen is one of the smarter ways to keep a reliable protein on hand. According to The Takeout, frozen shellfish like shrimp can last up to a year in the freezer. Past that point, the shrimp are technically still safe if they’ve been held at 0°F continuously, but the texture and flavor will have degraded enough that you’ll notice. Freezer burn – those white, dry patches on the surface of the shrimp – is a sign of moisture loss from air exposure. It doesn’t make the shrimp unsafe, but the affected sections will be tough. Trim them off or use those shrimp in a strongly flavored dish like a curry or chowder where the texture is less critical.
Store shrimp in the coldest part of the freezer, away from the door. If you’ve bought shrimp in bulk and want to portion it, transfer into smaller airtight freezer bags before freezing – it makes the thaw process much easier and means you only pull out what you need.
Precooked Shrimp: A Different Animal
Bags labeled “cooked” or “ready to eat” are a different situation than raw frozen shrimp and deserve their own paragraph. These shrimp are already safe to eat cold straight from the bag after thawing – that’s what cocktail shrimp is. If you want to add them to a warm dish, the goal is to heat through gently, not cook. Add them at the very end of a pasta sauce, a soup, or a stir-fry with about 60 seconds of heat. Any longer and you’re reheating already-cooked protein, which turns them tough fast.
The biggest mistake people make with precooked frozen shrimp is applying the same timing as raw shrimp. They’re already done. They just need to be warm.
The Part That Actually Matters
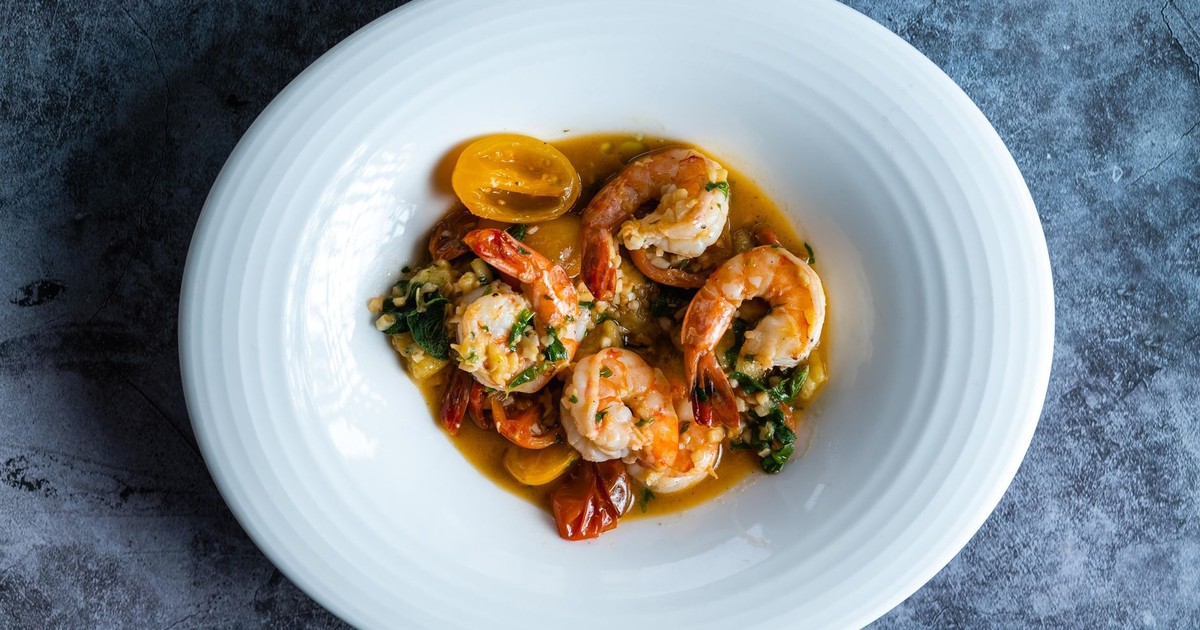
Most people who think they don’t like shrimp – or think they can’t cook it well – are fighting a thawing or timing issue, not a shrimp issue. Thawed wrong, cooked too long, or left wet before hitting the pan: any one of those will give you the rubbery, flavorless result that puts people off. Fix those three things and the protein does the rest of the work itself.
Shrimp defrosts faster than any other protein. It cooks in minutes. It absorbs whatever flavor you put around it and still tastes recognizably like shrimp. The patterns that wreck it – water left on the surface, too many in the pan at once, a minute too long on the heat – are easy to correct once you know what you’re watching for. Keep a bag in the freezer, learn the temperature cues, and you’ll have a reliable dinner answer for the foreseeable future.
Disclaimer: This information is not intended to be a substitute for professional medical advice, diagnosis, or treatment and is for information only. Always seek the advice of your physician or another qualified health provider with any questions about your medical condition and/or current medication. Do not disregard professional medical advice or delay seeking advice or treatment because of something you have read here.
AI Disclaimer: This article was created with the assistance of AI tools and reviewed by a human editor.