
You’ve watered your potted plants carefully, chosen them with intention, and positioned them in exactly the right light. Then you spot the trail. A neat, purposeful line of ants moving in and out of the soil like they own the place, which, at this point, they kind of do. Finding ants in potted plants is one of those garden problems that feels minor until it isn’t, and by the time you notice it, the colony has usually been settled in for a while.
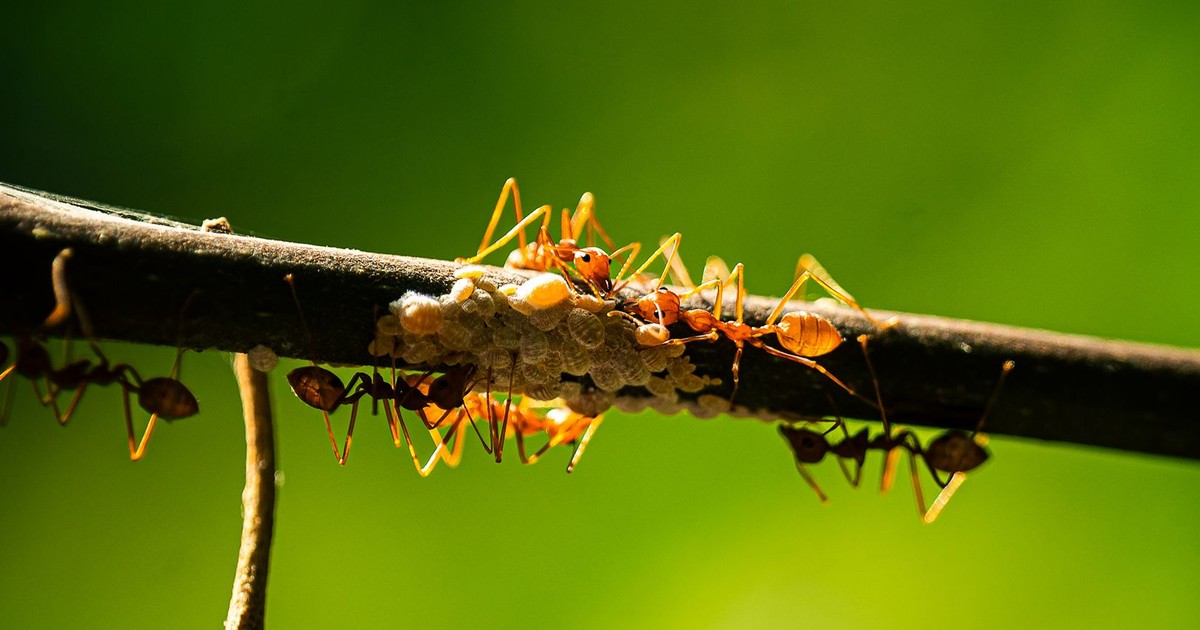
Ants are rarely in your pot for the plant itself. They generally don’t attack plants outright. They’re most likely after aphids, scales, or mealybugs. Those tiny insects do harm your plant, and they produce a sweet, nutritious excretion called honeydew that ants actively farm and feed on. So the ants marching through your potting mix are often a signal that something else is already wrong at the leaf level.
The other reason ants love a potted plant has nothing to do with pests at all: real estate. Potted plants provide ants with food, shelter, and warmth. Dry, loose potting mix is essentially a luxury apartment for a colony. It’s easy to excavate, protected from the elements, and undisturbed most of the day. Whether your pot is sitting on an outdoor patio or on an indoor windowsill, the conditions inside that container are often more hospitable than the surrounding environment. Every single one of the factors making your pot attractive can be addressed.
1. Repot the Plant With Fresh Potting Mix
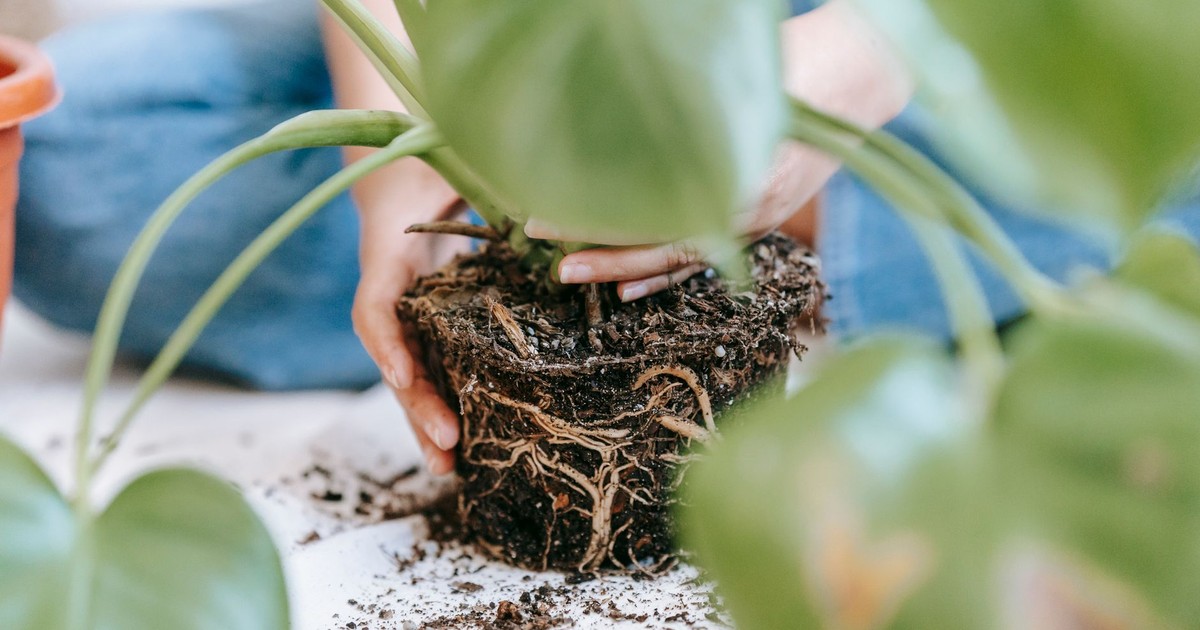
The most direct way to remove an established ant colony from a potted plant is to take away what they’ve built. Repotting strips the colony of its entire infrastructure in one move: tunnels, eggs, and all. Do it outdoors, wear gloves, and plan to shake as much of the old soil as possible from the roots before replanting. The old soil can go into a compost pile or a corner of the yard, not into another pot where you’d just be relocating the problem.
Use a completely fresh, sterile potting mix for the new container. Bagged commercial mixes are sterile by nature. They haven’t been sitting outside where ants could already have moved in. Keeping the potting mix moist and well-drained after repotting also helps prevent a repeat infestation, since ants prefer dry conditions. That means consistent, even watering rather than the irregular soaks that let the top layer of soil dry out completely between drinks.
Repotting is also a good chance to inspect the roots. If the ants have been in there long enough to build a serious colony, an extensive ant tunnel system can weaken the root system beneath the surface, even before you see any visible decline above the soil line. Checking the roots when you repot lets you catch that damage early and trim any compromised sections before replanting.
2. Soak the Entire Pot in Water
If full repotting feels like too much of a project right now, a long water soak is surprisingly effective at driving ants out. Submerge the pot in a bucket or basin of plain water, deep enough that the soil is fully saturated, and leave it for at least an hour. Ants cannot survive sustained flooding, and the ones with any instinct for self-preservation will evacuate.
Let the pot drain thoroughly afterward before you move it back to its usual spot. A few rounds of this, spaced a couple of days apart, can disrupt even a well-established colony enough to send it looking for drier ground. The soak method works best on smaller to medium pots where full submersion is actually feasible. For a very large container, sustained over-watering won’t do. Instead, keep the soil consistently moist rather than drenching it once and walking away, which achieves the same discouraging effect without risking root damage from a single flood.
This is also one of the gentlest options for the plant itself, assuming it can handle extra moisture without root rot becoming a concern. Succulents, cacti, and anything that genuinely needs to dry out between waterings are not great candidates. For most tropical houseplants or outdoor flowering pots, though, a proper soak is no more stressful than a heavy rain.
3. Apply Diatomaceous Earth Around the Soil
Diatomaceous earth (DE) is a fine, white powder made from the fossilized remains of microscopic aquatic organisms called diatoms, and it works on ants through a physical rather than chemical process. According to Today’s Homeowner, DE doesn’t poison ants. It kills them by dehydration. The powder sticks to their exoskeletons, cuts into the protective layer, and absorbs moisture and oils from their bodies.
Food-grade DE contains no harmful chemicals and is commonly used in food processing, toothpaste, and even livestock feed. Just make sure to buy the food-grade version, not the pool-grade kind, which is chemically treated and unsafe for use around people or pets. Sprinkle a thin layer around the rim of the pot and across the top of the soil surface, focusing on any visible ant trails. A light, even coating is all you need.
The one real limitation of DE is moisture. It’s important to reapply diatomaceous earth after rain or heavy watering, as moisture reduces its effectiveness. For indoor pots, this is less of a concern, but for outdoor containers, plan to reapply every time the pot gets a good soak. DE is a particularly good option for anyone who wants something that will also discourage future ants from crossing into the pot, since it creates a barrier that remains active as long as it stays dry.
4. Use Neem Oil as a Soil Drench or Spray
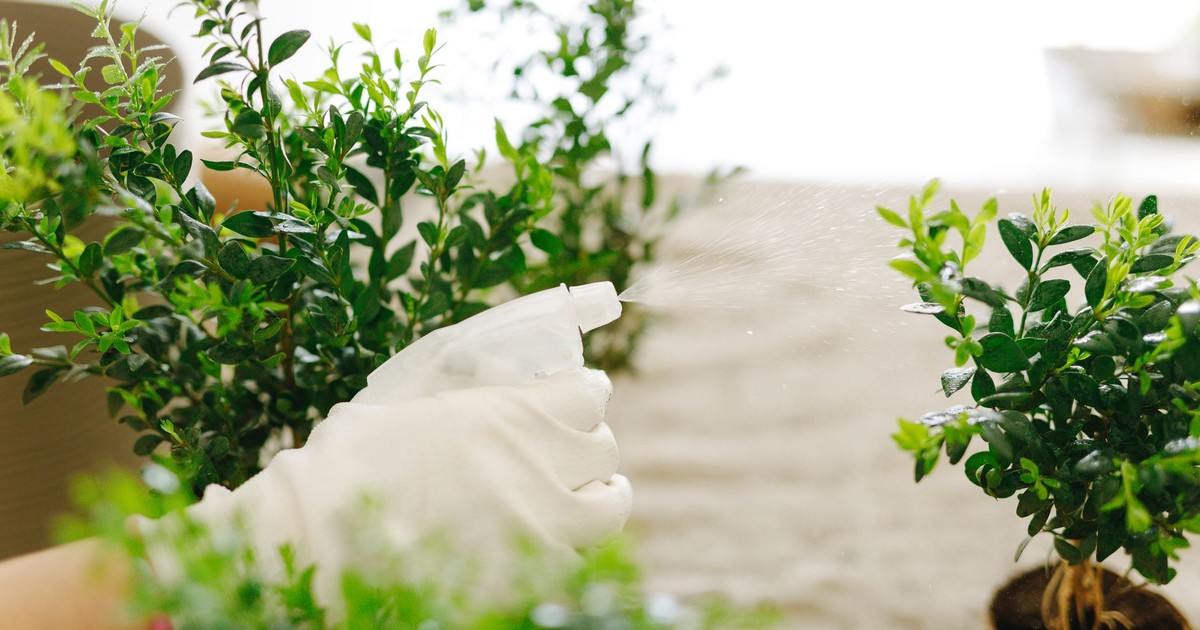
Neem oil, pressed from the seeds of the neem tree, contains the active compound Azadirachtin, which affects insects in ways that go well beyond a simple spray-and-kill approach. You can spray neem oil along ant trails and directly onto ants, where it clogs their airways and causes suffocation. Used as a foliar spray in a diluted solution with a small amount of dish soap as an emulsifier, it coats the plant’s surfaces and makes them inhospitable for the pests that may be drawing the ants in the first place.
The more interesting application for potted plants is the soil drench method. Used as a soil drench, the roots of the plants take up the neem oil into the leaves’ cellular structure, affecting the flavor of the leaves, making them less appealing to aphids, and thereby reducing the number of ants. If aphids are the reason ants arrived at the pot to begin with, this approach addresses the problem from two directions at once. Combine a tablespoon of neem oil with a few drops of dish soap in a liter of water, mix well, and water the soil with the solution. Repeat every week or two until the activity stops.
Any Azadirachtin consumed by drones or the queen can halt the production of eggs in the ants’ nest, and larvae fed Azadirachtin-laced honeydew can fail to reach adulthood. Results through this indirect route vary more than a direct contact spray, but for a heavy aphid situation driving the ant infestation, it can work through the whole ecosystem of the problem rather than just the visible surface of it.
5. Deal With the Aphid Problem Directly
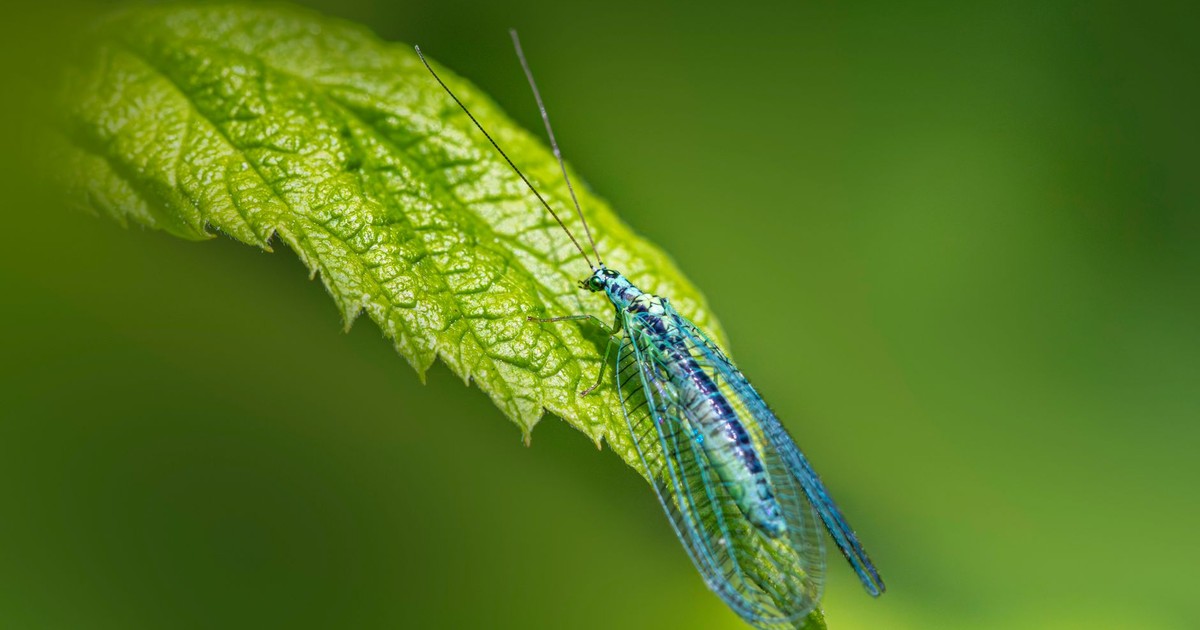
A large number of ants on a plant likely indicates a significant aphid infestation. Aphids feed on the sap of plants and secrete a substance called honeydew, a sticky resin that ants actually “milk” from the aphids by stroking their abdomen. The relationship between the two insects is mutually beneficial and, for your plant, mutually destructive. Ants protect aphids from predators such as ladybugs and often move them to new feeding locations. In return, aphids provide ants with honeydew, rich in carbohydrates. This can lead to increased populations of both aphids and ants, potentially causing plant damage.
You cannot solve the ant problem long-term without addressing the aphid problem. Start by checking the undersides of leaves, where aphid colonies cluster first. A strong jet of water from a hose or sink sprayer will knock them loose from the foliage. For a more persistent population, an insecticidal soap spray applied directly to the affected leaves every few days will eliminate them without damaging the plant or harming beneficial insects. If you grow plants outdoors, pest-repellent companion plants like marigolds, catnip, and chives can also reduce aphid pressure around the whole growing area.
Without aphids, the ants will be forced to move on for food. No honeydew, no reason to stay. The ants will relocate to wherever their food source moves next.
6. Use Ant Bait Stations Near the Pot
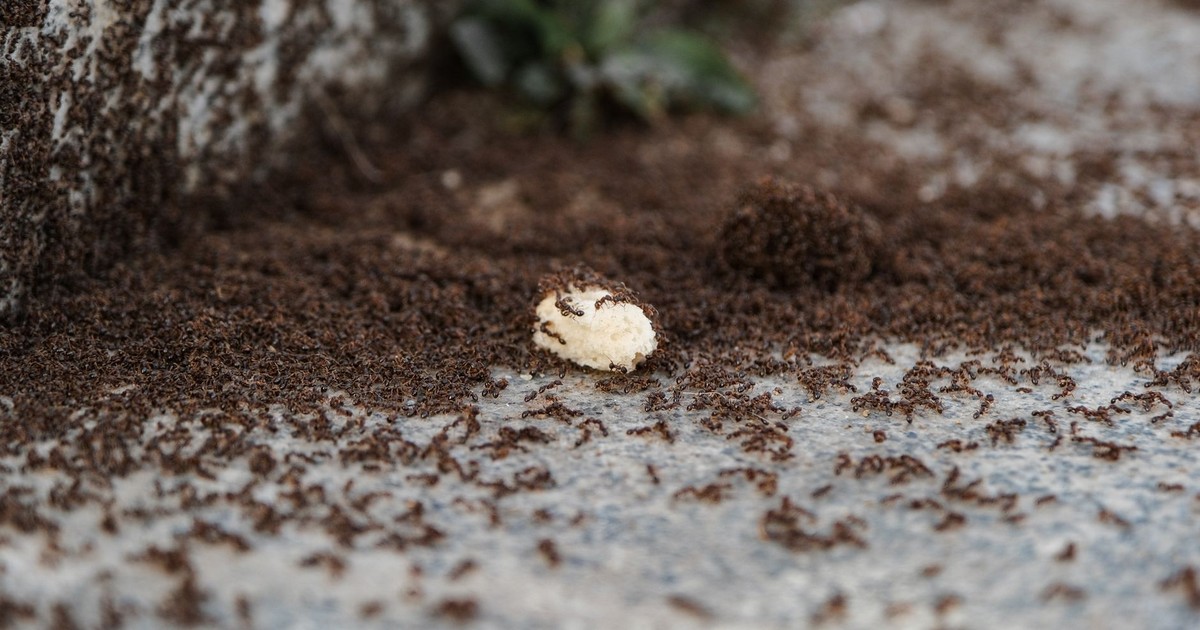
When an ant colony is large or well-established, surface treatments alone may not reach the source. Bait stations work differently from sprays and barriers: instead of killing the ants that find the bait on contact, they rely on the ants taking the slow-acting poison back to share with the rest of the colony, including the queen. Insecticidal baits contain a slow-acting poison that ants carry back to their nests, effectively eliminating the entire colony.
Place bait stations at the base of the pot or along any visible ant trails leading to it, not inside the soil itself. The ants need to be able to find the bait, carry it, and return. Interrupting that process by placing it somewhere inaccessible defeats the purpose. Keep children and pets away from the stations during treatment, and check the package instructions for how long to leave them in place before replacing.
Bait is best used alongside other methods rather than on its own, especially if the ants have already nested inside the potting mix. The bait handles the colony; repotting, soaking, or DE handles the immediate infestation in the soil. Using both together gives you the best chance of not seeing another colony move into the same pot two weeks later.
7. Create a Physical Barrier to Keep Ants Out
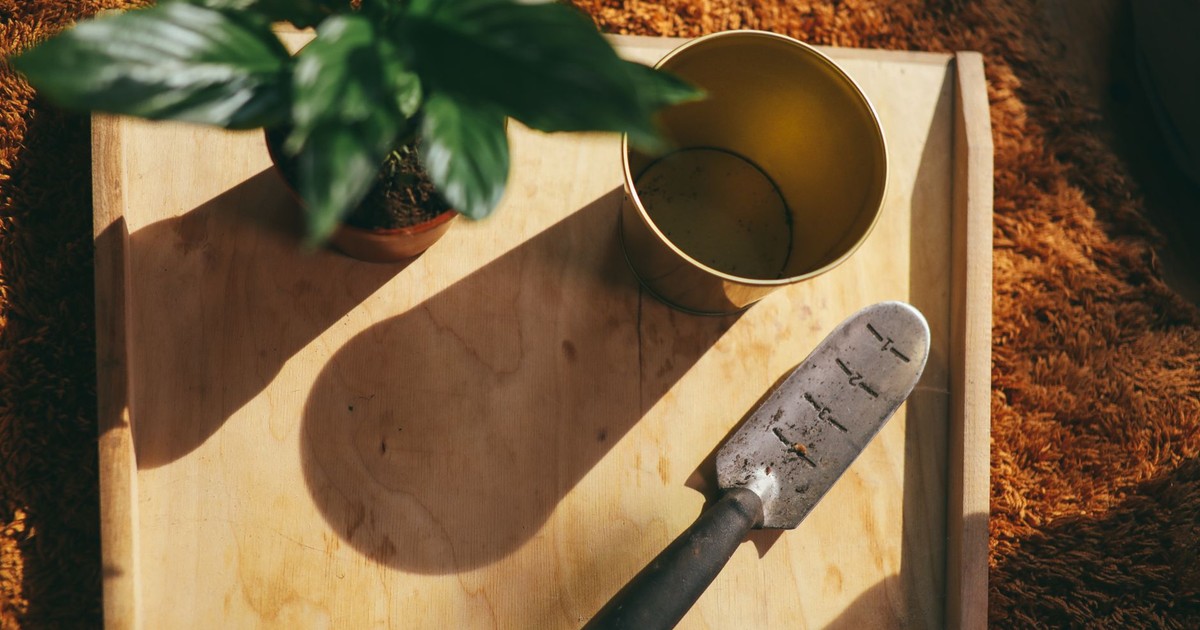
Once you’ve cleared an infestation, keeping ants out of the pot permanently is partly about moisture management and partly about making the physical path into the pot unpleasant enough that they go elsewhere. Sticky barriers applied around the outside of the pot’s rim create a zone that ants won’t cross without getting trapped. Products designed for this purpose are available at most garden centers and remain active for several weeks between applications.
For pots on patios or decks, a moat setup works well: place the pot’s feet or base inside a shallow tray filled with water. Ants won’t swim to reach a plant, so the tray acts as a permanent perimeter. This doubles as a humidity tray for moisture-loving plants, which is a reasonable bonus. The tray will need to be refilled regularly, especially in warm weather when evaporation is fast, but it requires no products at all.
Ant activity spikes in spring and fall, and changes in weather, including heavy rains or drought, can drive ants to seek out more hospitable areas. Checking pots during seasonal transitions, when you’d be moving them inside for winter or setting them back out in spring, gives you a window to inspect the soil, refresh the potting mix if needed, and apply a barrier treatment before a new colony has a chance to settle in.
What You’re Really Dealing With
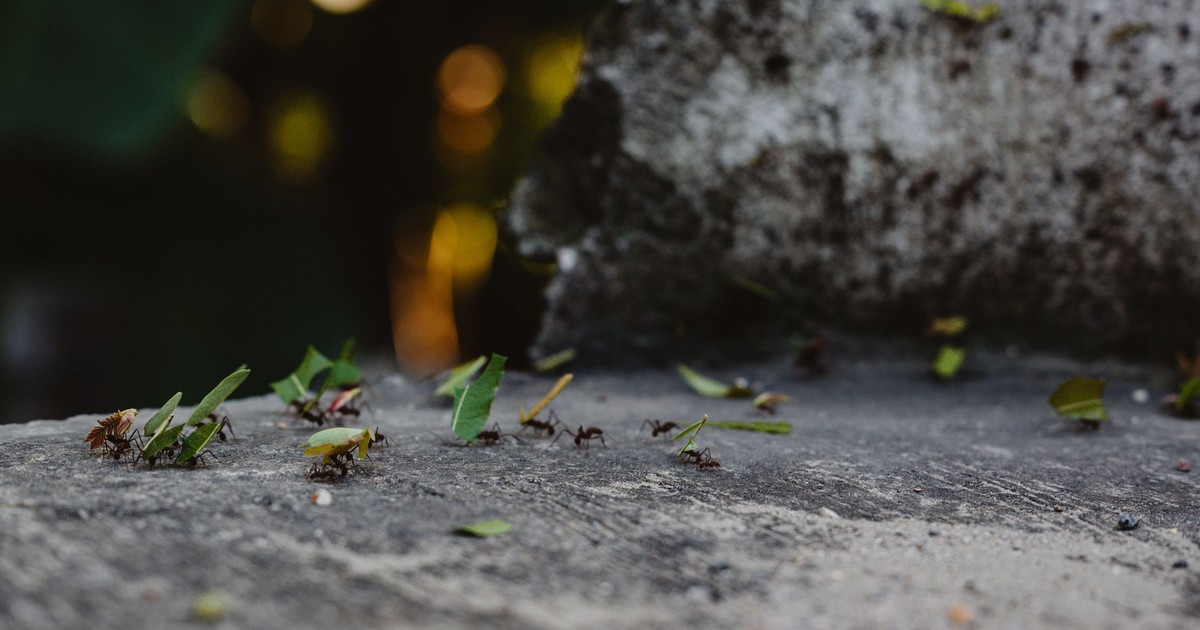
Ants in potted plants are one of those problems that can feel endless because the conditions that invite them in are so easy to re-create without meaning to: dry soil, aphids, a pot that sits undisturbed for weeks. None of the seven methods above is a one-time fix in isolation. The ones that work best are the ones layered together: flush or repot first to remove the existing colony, treat for aphids if they’re present, then maintain moisture levels and a physical barrier to make returning unattractive.
The ant presence is usually the second problem, not the first. If you clear the ants and don’t check the undersides of the leaves, or if you repot and then immediately let the soil dry to bone-dry again, the same situation will reconstruct itself within a season. Start with the pot, check the plant, and address whichever one is driving the other. The answer is almost always sitting right there at the leaf level.
Disclaimer: This information is not intended to be a substitute for professional medical advice, diagnosis, or treatment and is for information only. Always seek the advice of your physician or another qualified health provider with any questions about your medical condition and/or current medication. Do not disregard professional medical advice or delay seeking advice or treatment because of something you have read here.
AI Disclaimer: This article was created with the assistance of AI tools and reviewed by a human editor.