

Every garden plot starts as a bet you make with the earth. You put something in the ground, you give it what you think it needs, and then you wait – sometimes anxiously, sometimes forgetting about it entirely until you notice the leaves have gone yellow or the tomatoes have split down the middle. The slow creep of things not quite working eventually forces the question: what am I actually doing wrong?
Most garden struggles trace back to a small set of fixable habits. Not exotic horticultural secrets, not expensive interventions – just a more honest understanding of how plants grow and what they need from you. Whether you have a sprawling backyard plot or a few raised beds on a patio, these home garden tips hold up across climates, plant types, and experience levels.
Some of these will confirm what you already suspected. Others might make you quietly reconsider something you’ve been doing for years without thinking too hard about it. A thriving garden is far less about talent than it is about paying attention to the right things at the right time.
1. Test Your Soil Before You Plant Anything
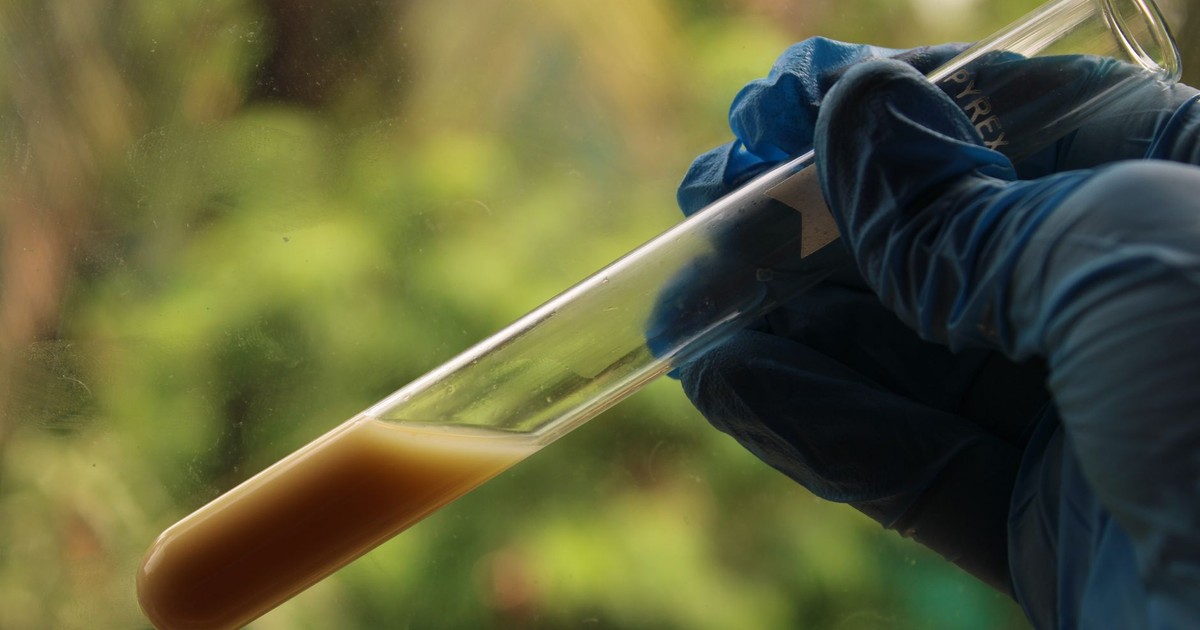
Planting without knowing your soil is like cooking without tasting anything – you’ll produce something, but you won’t know why it works or why it doesn’t.
Soil tests reveal what nutrients are already present and what needs to be added for optimal plant growth. According to Penn State Extension, standard soil test kits are available from county extension offices, garden centers, or commercial firms, and return results with specific amendment recommendations for your region. A basic test will tell you which critical nutrients your soil is lacking, along with its pH level – the factor that controls how available those nutrients actually are to your plants.
A pH that’s off by even one point can lock out nutrients that are physically present in the soil but chemically unavailable to roots. Blueberries want acid soil around 4.5 to 5.5. Most vegetables prefer something closer to 6.0 to 7.0. Getting this wrong at the start means adding fertilizer that your plants simply cannot absorb, no matter how generously you apply it.
2. Build Your Soil With Organic Matter
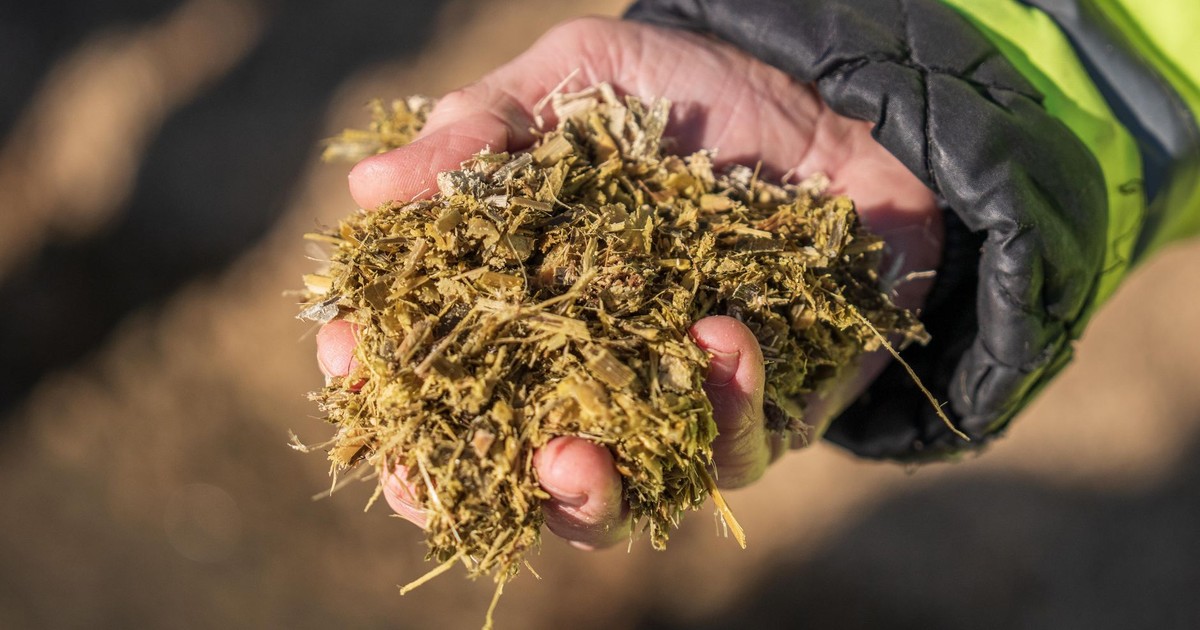
Once you know what you’re working with, the single most reliable improvement you can make is adding organic matter. Soil is a lively interaction between structured solids (such as weathered rock minerals and decaying organic matter), living microorganisms, and plant roots, as well as water, air, and nutrients. Disrupting that ecosystem with synthetic inputs alone, while never feeding the biological side of it, is a recipe for a garden that needs more and more intervention every year.
Clemson Extension HGIC notes that most garden and landscape soils have poor texture and often lack organic matter. Working a 2 to 3-inch layer of organic material into the top of your beds can help neutralize pH, improve drainage, replenish nutrients, and provide aeration. Compost is the most accessible form: kitchen scraps, yard waste, and aged manure broken down into dark, crumbly material that smells like a forest floor. Work it into the top few inches of your beds at the start of each season and let the soil organisms do the rest.
Healthy soil should contain plenty of organic matter and support beneficial organisms like earthworms and microbes, which aerate the soil and break down organic material into plant-available nutrients. Earthworms are an honest indicator of soil health. If you dig a hole and find several in the first few inches, you’re on the right track.
3. Understand Your Sunlight Before You Choose Your Plants
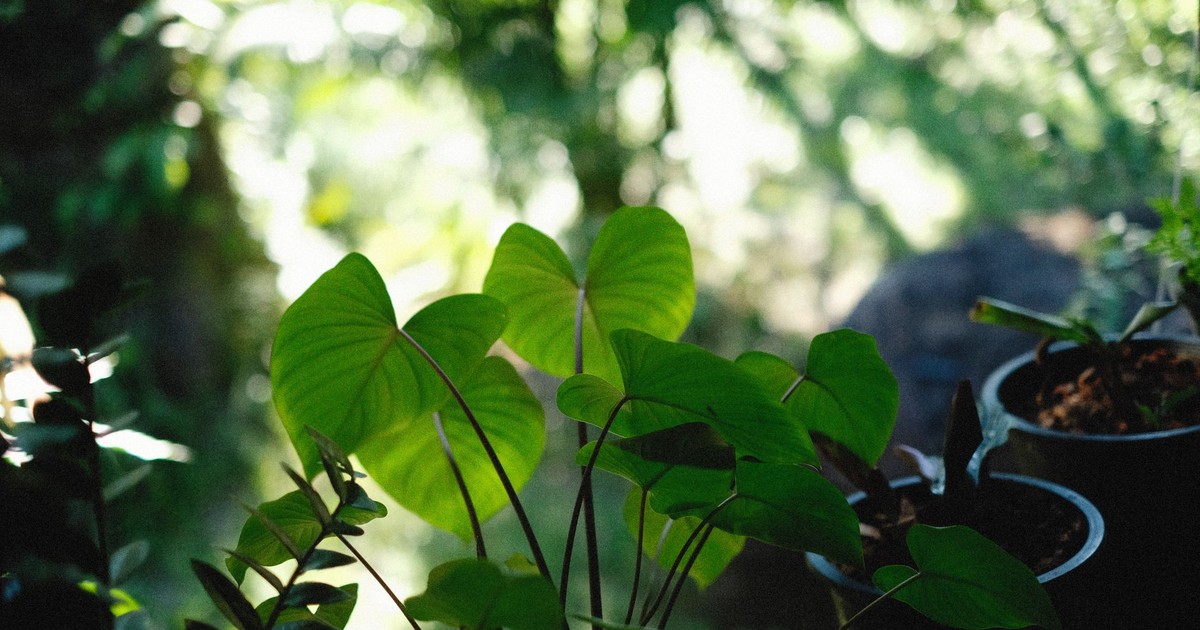
Most garden disappointments begin with a sunlight mismatch. A tomato in partial shade will grow. It will flower. It will even set some fruit. But it will underperform badly compared to the same plant in full sun, and you’ll spend the season wondering what went wrong.
Full sun means at least six hours of direct sunlight per day. Partial shade means fewer hours of direct sun than a full-sun location, typically defined as a spot that receives filtered or intermittent light for much of the day. These are not vague categories – they directly determine which plants will thrive in a given spot. Walk your garden at different times of day in spring before anything is planted and note which areas get consistent light and which are shaded by structures, fences, or established trees.
Many gardeners inherit a plot that has already been planted with sun-loving vegetables in spots that turn shaded by midsummer once neighboring plants fill in. Mapping your light once at the start of each season, rather than assuming it’s the same as last year, takes twenty minutes and saves an entire growing season of frustration.
4. Water Deeply and Less Frequently
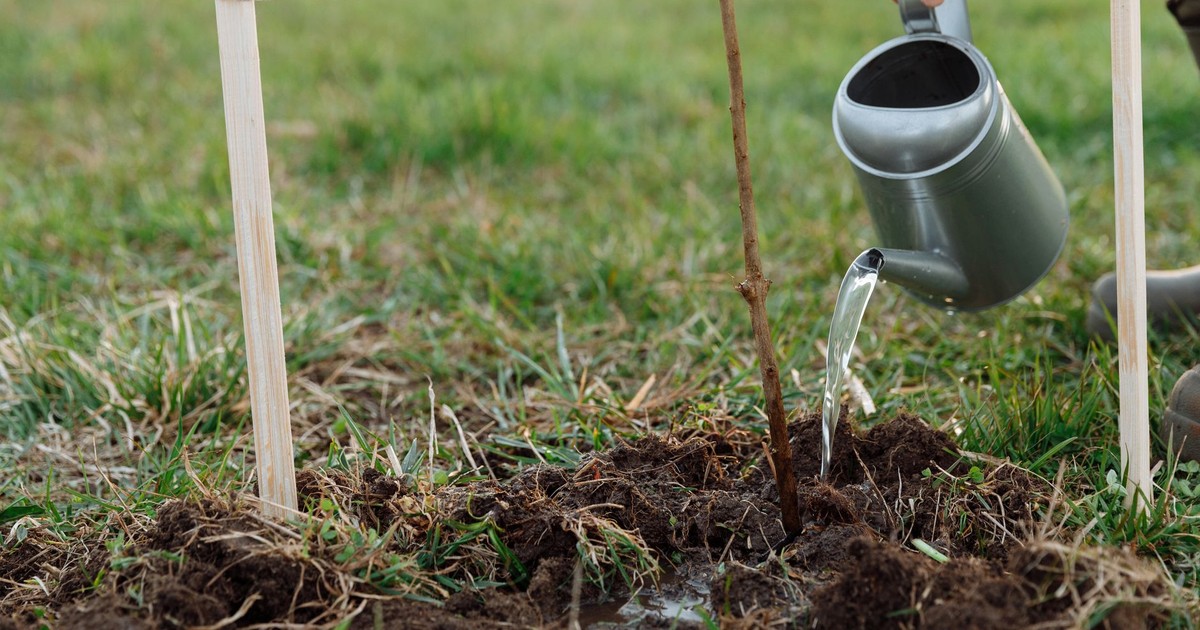
The most common watering mistake in a home garden is watering too often and not deeply enough. Light daily watering keeps the surface of the soil moist, which trains roots to stay shallow and close to the surface – exactly where they’re most vulnerable to heat, drought, and foot traffic compaction.
The WSU Master Gardener Program recommends applying a layer of organic mulch around plants to retain soil moisture and reduce evaporation, and watering your garden in the early morning or late evening to minimize water loss. Morning is usually the better of those two options: it gives foliage time to dry before the heat of the day, reducing the conditions that favor fungal disease. Evening watering can leave leaves damp overnight, which is ideal conditions for powdery mildew and similar problems.
Deep, infrequent watering encourages roots to chase moisture downward, building stronger root systems that are more drought-tolerant and stable. For most vegetable gardens, watering two to three times per week deeply is more effective than a daily sprinkle that barely penetrates the top inch of soil.
5. Use Drip Irrigation to Cut Water Waste
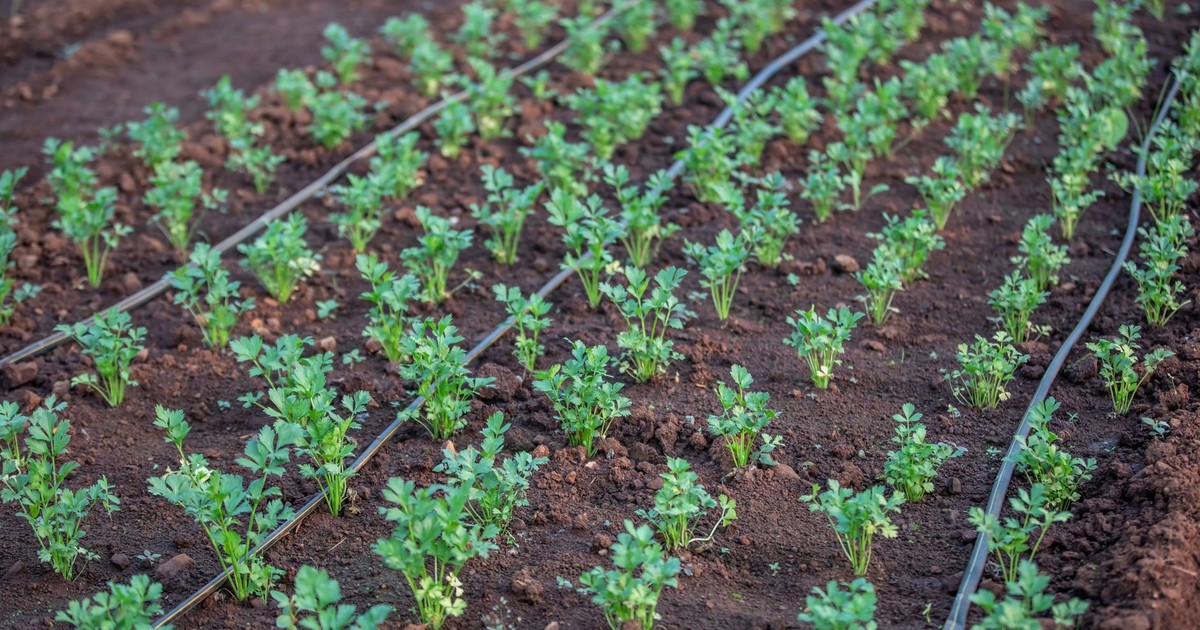
If you’re still using an overhead sprinkler on your vegetable garden, you are losing a significant portion of every watering session to evaporation and runoff before it ever reaches a root. Drip irrigation systems deliver water directly to the plant roots, reducing water waste. The setup requires some upfront investment in tubing and emitters, but it pays back quickly in lower water bills and healthier plants.
Drip irrigation delivers water to where your plants need it most – the root zone – using a network of tubes and emitters to apply water slowly, which helps conserve water, improves plant health, and simplifies your gardening routine. The slow, measured delivery also means soil absorbs water at the rate it’s applied, rather than shedding the excess as runoff the way it does when a sprinkler drenches dry soil all at once.
There’s a secondary benefit that often goes unmentioned: keeping foliage dry. Wet leaves are a calling card for fungal diseases. Drip systems water the soil, not the plant, which means less disease pressure across your whole garden across the course of a season. For anyone growing tomatoes, squash, or cucumbers, that alone can make a meaningful difference.
6. Mulch Every Bed, Every Season
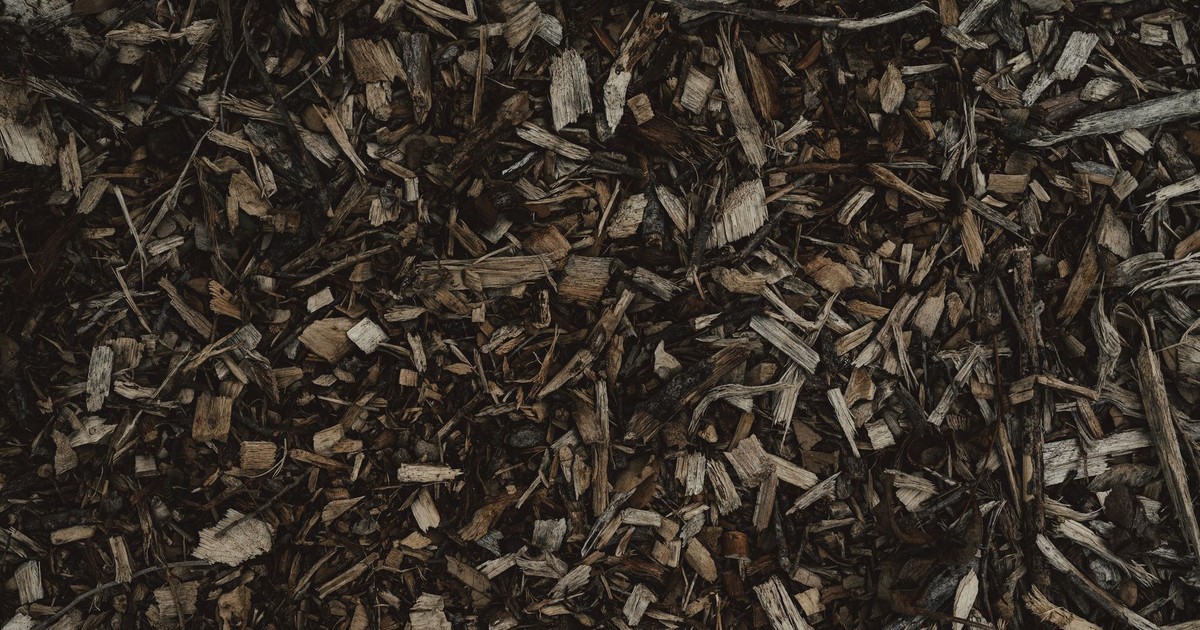
Mulch does more work per dollar than almost anything else you can apply to a garden. Covering the soil around your plants with organic mulch – bark, straw, or leaves – can significantly reduce evaporation, and mulch also regulates soil temperature, keeping roots cool during hot days and warm during cooler nights.
Beyond moisture retention and temperature regulation, a consistent mulch layer is one of the most effective ways to reduce your weeding workload. Mulch reduces weed growth, preventing these invaders from competing with your plants for water and nutrients. A 2 to 3-inch layer is the general recommendation – enough to block light from weed seeds without suffocating the soil or crowding plant stems, which should always remain clear.
Organic mulches – straw, wood chips, shredded leaves, grass clippings – have the added advantage of breaking down slowly and feeding the soil as they decompose. This means the mulch you apply in spring is doing double duty: managing moisture all summer while quietly improving soil structure by fall.
7. Rotate Your Crops Each Year
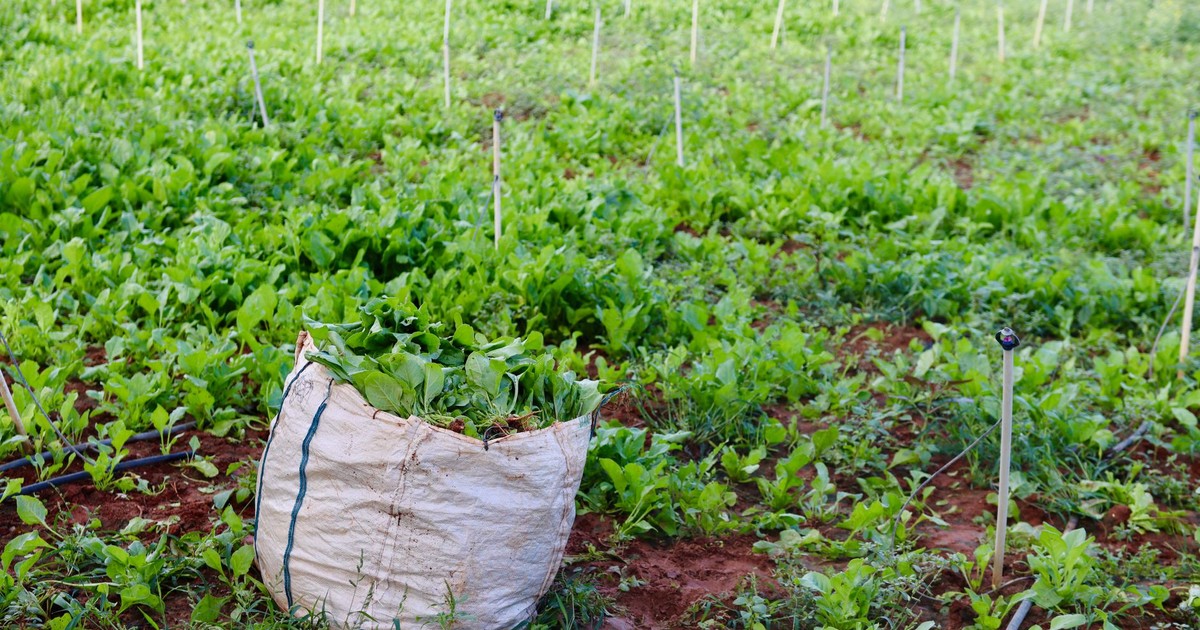
Growing the same plants in the same spot year after year depletes specific nutrients from the soil and allows the pests and diseases that target those plants to entrench themselves deeper into the beds with each passing season. Rotation breaks that cycle without requiring any chemicals at all. Season-to-season crop rotation can help promote better overall soil health, since different plant species require different and varying levels of nutrients.
A reliable rotation sequence to follow is fruits (tomatoes, peppers, cucumbers), then roots (carrots, beets, potatoes), then leaves (spinach, kale, lettuce), then legumes (beans and peas). Peas and beans add plant-ready nitrogen into the soil, while tomatoes and corn are heavy nitrogen feeders. Running legumes through a bed before nitrogen-hungry vegetables like corn or tomatoes is a straightforward way to replenish what previous crops consumed.
The minimum practical rotation is moving plant families to a different bed every year. Even a two-bed system, alternating between heavy feeders and everything else, is better than no rotation at all. The goal is to prevent any one family of plants from occupying the same soil for more than one consecutive season.
8. Try Companion Planting
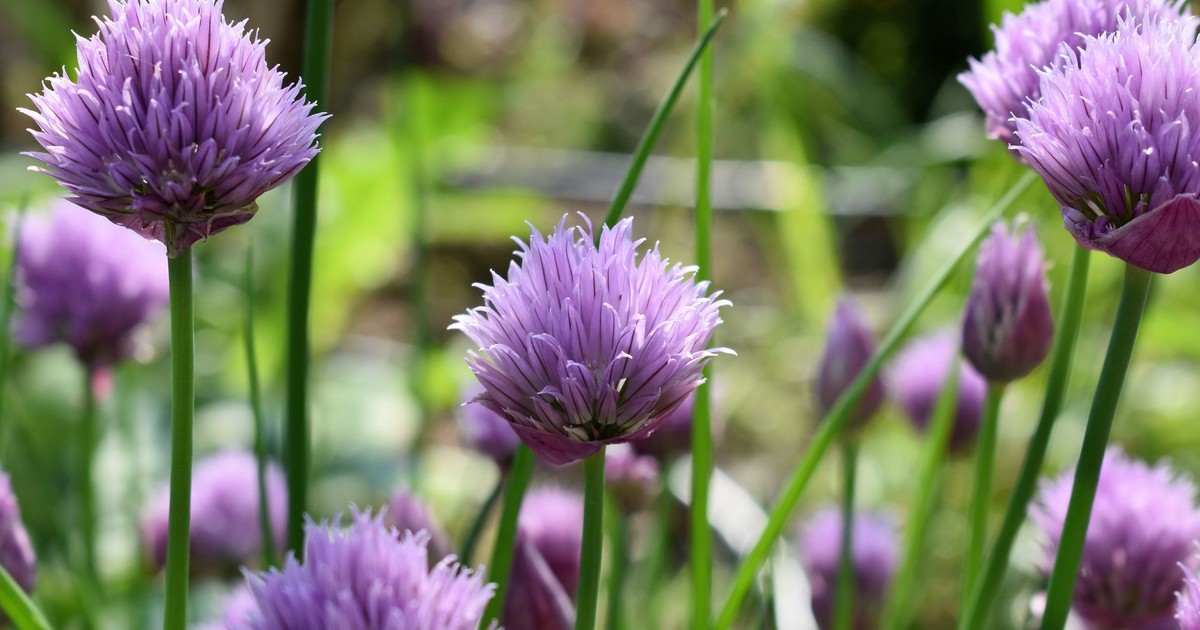
Companion planting is one of those practices that sounds old-fashioned until you understand the actual reasoning behind it. By combining plants that naturally support each other, you can reduce pests, improve soil, attract pollinators, and increase your harvest – the Old Farmer’s Almanac describes it as backed by generations of gardening knowledge and updated with modern research.
Marigolds repel nematodes in the soil; onions can deter carrot flies, while carrots help improve the growth of onions; basil repels tomato pests, and although it has not been proven, many gardeners believe planting basil and tomatoes together improves their flavor. These are not folk myths – the pest deterrent effects of certain pairings have measurable support in research, even if the causes are not fully understood in every case.
The classic example is the Three Sisters – corn, beans, and squash planted together. The tall corn plants provide a structure for the pole beans to grow on while the beans enrich the soil by fixing nitrogen from the atmosphere, and the squash plants shade and cool the soil surface, reducing evaporation. That’s three problems (support, soil fertility, and moisture loss) solved by one planting decision. Once you start seeing your garden as a community of plants rather than isolated individuals, the whole operation becomes more efficient.
9. Start Seeds Indoors for a Head Start
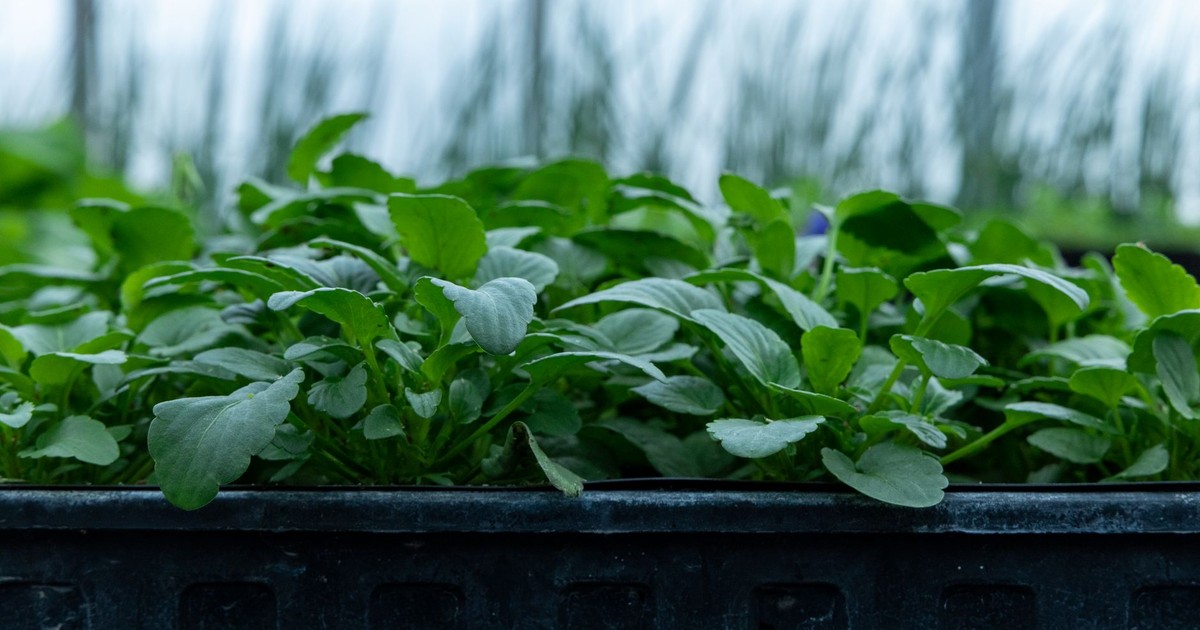
Starting seeds indoors extends your effective growing season by weeks, sometimes months, depending on your climate. In most of the US, waiting until after the last frost date to direct-sow warm-season crops like tomatoes, peppers, and eggplants means they won’t have time to reach full production before the first frost of fall. Starting them six to eight weeks early indoors closes that gap.
The requirements are modest: a seed-starting mix (not regular potting soil, which is too dense), containers with drainage, consistent warmth around 65 to 75 degrees Fahrenheit for germination, and light. Natural windowsill light is usually insufficient for seedlings without supplemental grow lights – they’ll stretch and thin out reaching for more than the window provides, producing weak transplants. A basic LED grow light suspended a few inches above the seedlings for 14 to 16 hours a day makes a reliable difference.
Hardening off – the process of gradually exposing indoor seedlings to outdoor conditions over a week or two before transplanting – is a step that first-time gardeners often skip because it seems cautious to the point of fussiness. It isn’t. A seedling that has spent its whole life in a climate-controlled room will suffer real damage if moved directly into wind, direct sun, and fluctuating temperatures. Give it a slow introduction and transplant success rates go up significantly.
10. Feed Plants at the Right Time
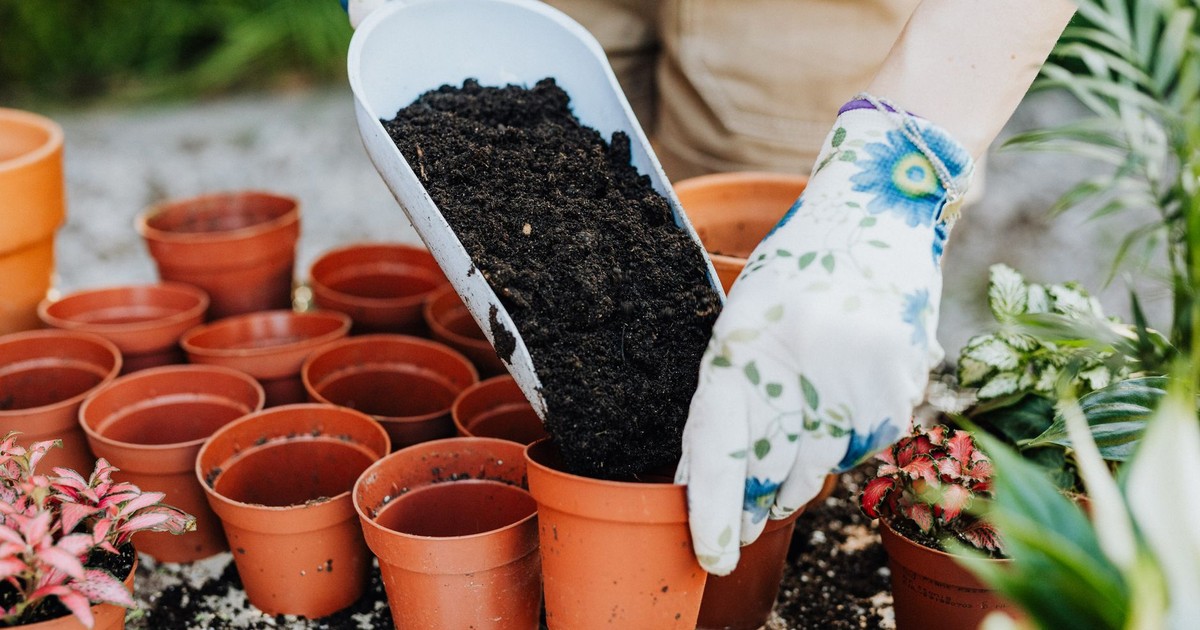
Fertilizer is not a general tonic you apply whenever you remember. Different plants need different nutrients at different stages of growth, and applying the wrong thing at the wrong time can actively harm your garden rather than help it. Too much nitrogen during the fruiting stage, for example, produces lush foliage and poor fruit set – a common mistake that results in an impressive-looking tomato plant with very few tomatoes.
Understanding the three primary nutrients on any fertilizer label – nitrogen (N), phosphorus (P), and potassium (K) – is enough to get started. Nitrogen drives leaf and stem growth. Phosphorus supports root development and fruiting. Potassium contributes to overall plant health and disease resistance. A high-nitrogen fertilizer at planting makes sense for leafy greens; the same fertilizer on a pepper plant in July is pushing it to make leaves when you need it making fruit.
Slow-release granular fertilizers reduce the risk of over-application because they deliver nutrients gradually over weeks rather than all at once. For container gardens especially, where nutrients leach out with every watering, a balanced slow-release fertilizer worked into the mix at planting gives plants a sustained baseline without requiring constant supplemental feeding.
11. Stay On Top of Weeds Early
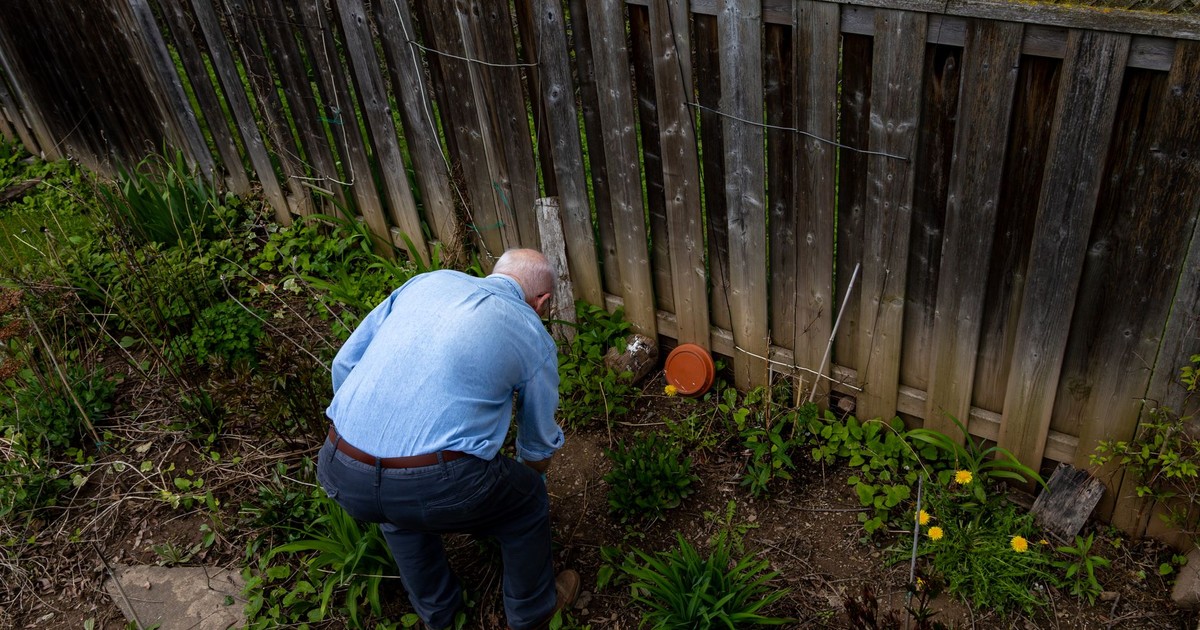
Weeds do not announce their intentions. They germinate quietly, stay small long enough to be ignored, and then root deeply enough that removing them becomes a genuine effort. The most effective weed management strategy is acting in the first two weeks of germination, when the roots are still shallow and the plants pull cleanly from the soil.
Letting weeds reach the flowering stage is the critical mistake. A single pigweed plant can produce tens of thousands of seeds. Those seeds stay viable in the soil for years, building what gardeners call a seed bank – a reservoir of future weed pressure that compounds with every season you allow weeds to set seed. The payoff of pulling weeds before they flower is not just this season’s garden. It’s a meaningfully easier garden in two and three years’ time.
Consistent mulching handles a large portion of weed suppression by blocking light from reaching the soil surface. But mulch is not infallible, and the weeds that do push through need to come out before they establish. A brief weekly walk through your beds to pull what’s emerging costs about fifteen minutes and saves hours of work later.
12. Observe Your Garden Regularly and Adjust
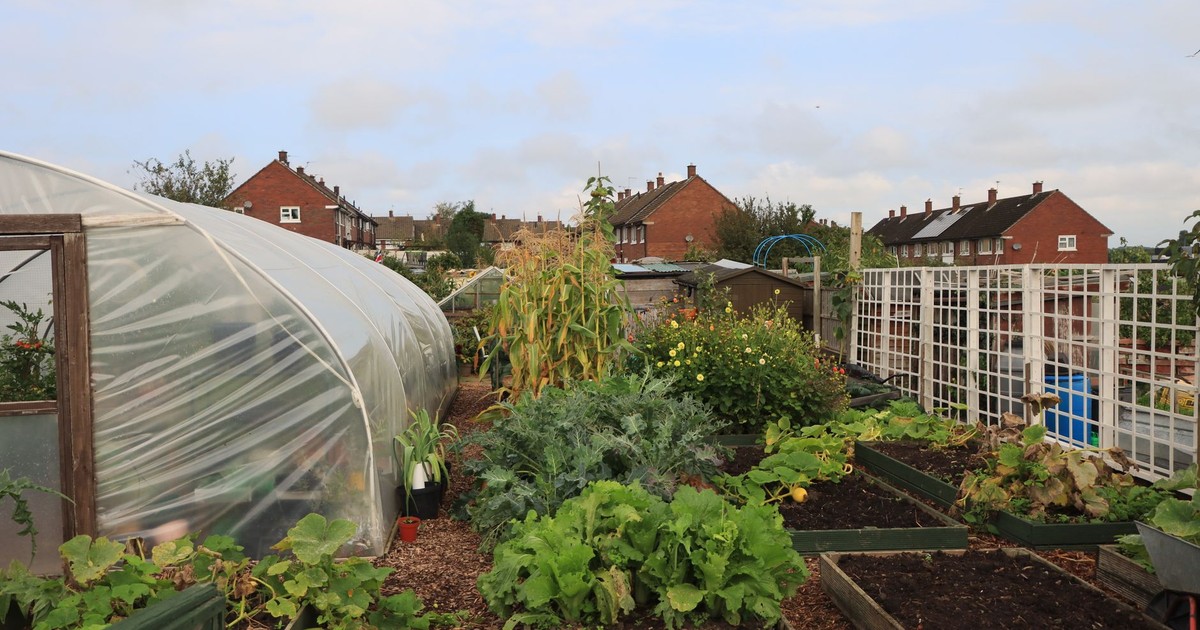
The gardeners who produce the most tend to be the ones who spend the most time simply looking. Not always doing – looking. Walking the beds in the morning, noticing which plants are flagging in afternoon heat, catching the first signs of aphid colonies before they’ve established on every stem, spotting the yellowing leaf that tells you a deficiency is developing before the whole plant goes downhill.
Most garden problems are far easier to solve in their early stages than once they’ve become visible across the whole bed. A single plant with early signs of blight can be removed before it spreads. A row of seedlings that’s suddenly stunted might just need thinning, which takes five minutes if you notice it in week two. The same problem ignored until week five is harder to recover from and may cost the whole row.
Keeping a simple garden journal – what you planted, when, what the results were – pays dividends faster than most people expect. After one full season of notes, you’ll have a record of what worked in your specific conditions, what failed, and what to try differently. That record is worth more than any general gardening guide, because it’s built from your actual soil, your actual light, and your actual climate.
Read More: Should Every School Have a Year-Round Gardening Program?
The Honest Part About Gardening
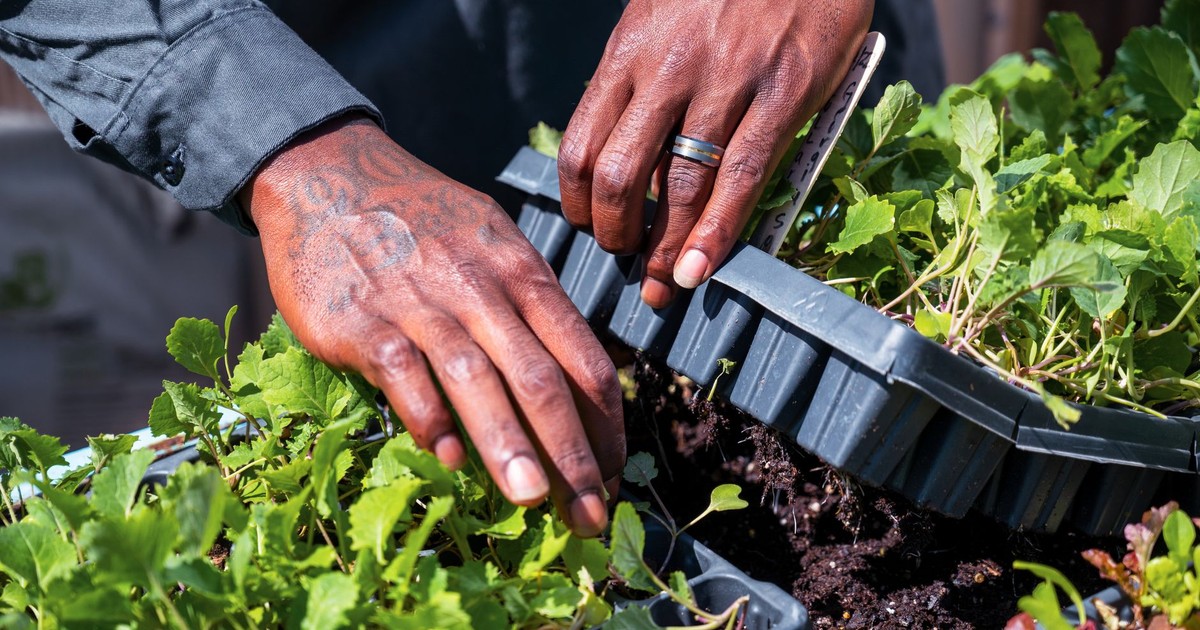
No list of home garden tips eliminates the learning curve entirely. Every season teaches you something the previous one didn’t, usually because the weather did something unexpected, or a pest arrived you hadn’t encountered before, or one bed produced beautifully while the identical setup three feet away sulked all summer. That is not failure. That is gardening.
What separates the gardeners who improve year over year from those who stay frustrated is not access to better tools or richer soil. It is willingness to stay curious about what went wrong rather than just disappointed. A blossom end rot problem on your tomatoes is annoying, but it’s also a conversation your plants are having with you about calcium availability and inconsistent watering. Most gardens are trying to tell you something. The whole job is learning to listen.
Disclaimer: This information is not intended to be a substitute for professional medical advice, diagnosis, or treatment and is for information only. Always seek the advice of your physician or another qualified health provider with any questions about your medical condition and/or current medication. Do not disregard professional medical advice or delay seeking advice or treatment because of something you have read here.
AI Disclaimer: This article was created with the assistance of AI tools and reviewed by a human editor.